How to Fix Bath Faucet Leak: Stop the Drip of Your Bathtub Faucet
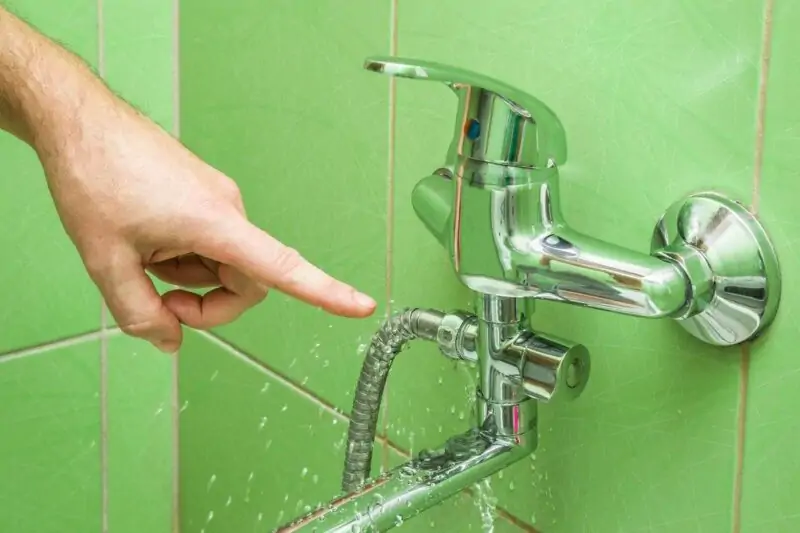
Every homeowner encounters the common plumbing issue of a leaky faucet and wants to learn how to fix bath faucet leak easily. Although it may seem too trivial to hire a plumber and undergo the inconvenience and expense, you may be unsure of how to proceed.
Fortunately, the procedure for fixing it is straightforward and only requires a small amount of movement below the sink. Discover how to fix a bathtub faucet leaking with this easy DIY guide and save both water and money in the process.
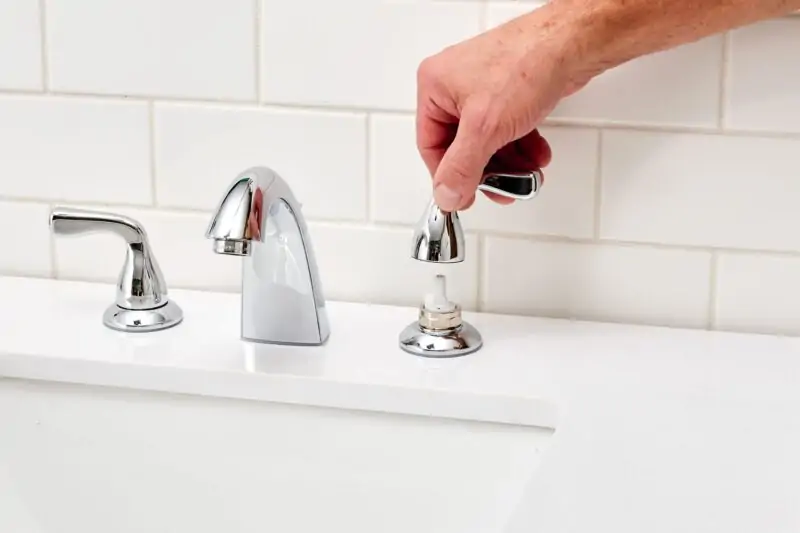
Examine the Bathroom Faucet
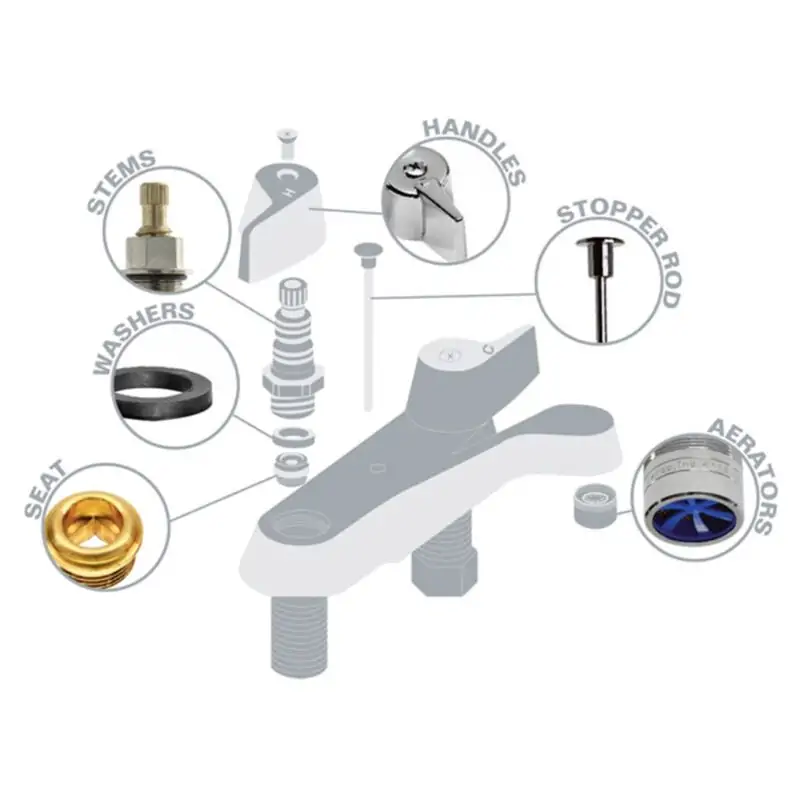
Before getting started and learning how to fix a bathtub leaking faucet, here are some quick things you should know:
- Examine the seals inside the valve located in the wall of the nozzle. Replace them if they are corroded or damaged.
- Check the seat washers and bonnet washers situated at the end of the nozzle for any cracks. Replace them with new ones if the old washers are deteriorating.
- Inspect the rubber packing washer or brass packing nut within the valve bonnet for any signs of damage. Replace them if needed.
- If the nozzle stem or cartridge is significantly corroded or damaged, replace the entire component. Ensure that the new stem or cartridge matches the model of the nozzle for a proper fit.
Tools and Materials to Fix a Leaky Bathtub Faucet
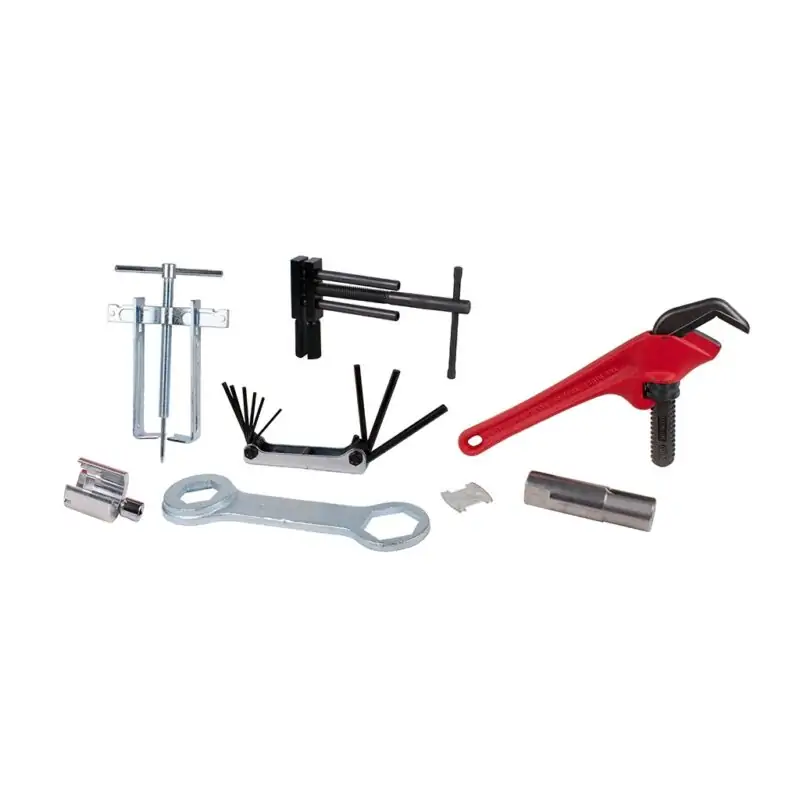
If you want to learn how to fix a bathroom faucet leak, you will need the following materials and essential tools:
- Adjustable wrench
- Bath socket wrench
- Handle puller
- Seat wrench
- Utility knife
- Grease
- Valve and stem repairing parts
Ensure the Availability of New Parts
If you want to learn how to fix a bathroom faucet leak, it is crucial to ensure the availability of the required new parts. Replacement parts are easily accessible at hardware stores and home improvement centers and can be used to fix the majority of bathtub plumbing problems.
Step-by-Step Guide to Fix Bath Faucet Leak
It is time to learn how to fix the bathroom faucet leaking at the base and get started on your DIY project by following the exact steps given below.
Step No. 1: Disassemble the Faucet
The nozzle handle removal is the most difficult part of the procedure. Corrosion over time may permanently bond the knob to the stem. To drain extra water from the system, turn off the water supply to the nozzle and open the valves. Using a pocket knife’s narrow blade, pry the handle insert out.
Step No. 2: Remove the Handle Screw
Unscrew the handle screw and gently wriggle the handle until it comes out. If it is stuck, use a hair dryer to heat it and loosen it. Be cautious not to apply too much force, as it may break.
Step No. 3: Detach the Handle
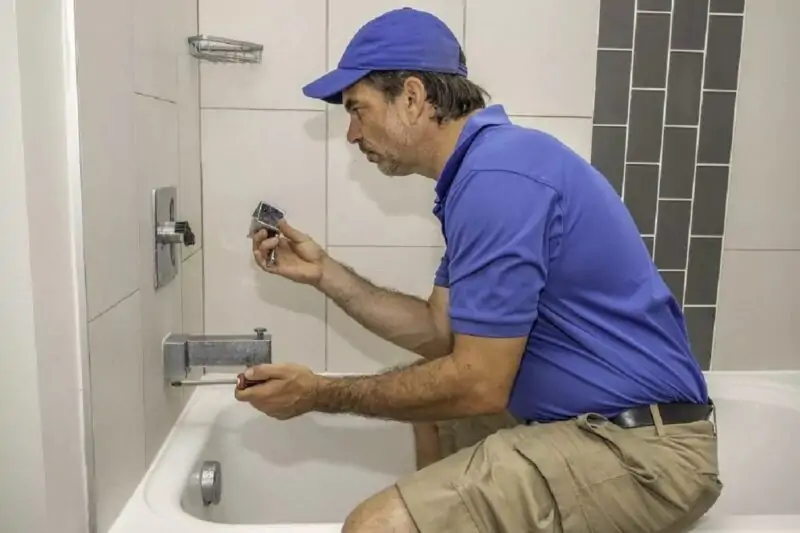
The faucet handle can be removed by performing the following steps using a Phillips head screwdriver. Turn the internal nozzle handle screw counterclockwise to loosen it. The handle should then be grasped and pulled straight out to separate it. Don’t worry if the screw is still present inside the handle; it will be removed with the handle.
After that, remove the stem by placing the bath socket onto the stem bonnet and rotating it counterclockwise to loosen the stem. If it’s stubborn, apply penetrating lubricant and let it soak. Finally, unscrew and remove the stem.
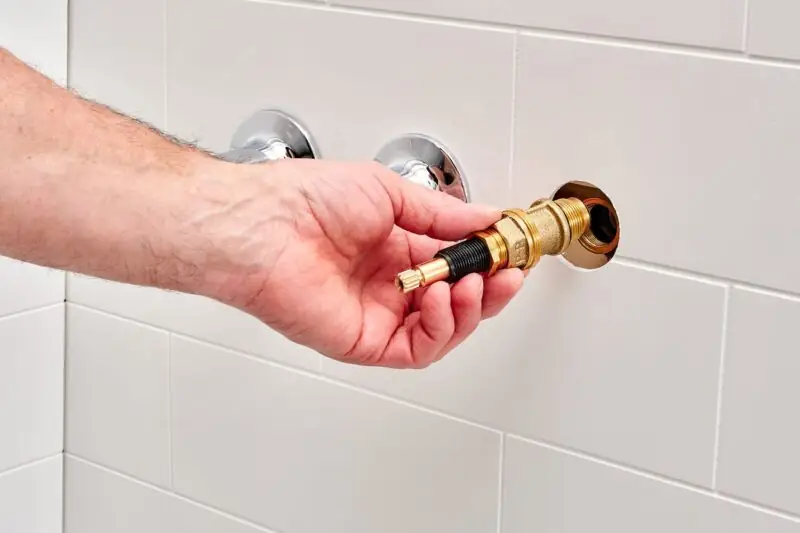
Step No. 4: Tighten the Seat Washer
This step is critical in learning how to fix a bathtub faucet leak. Replacing the seat is necessary if leaks occur due to stiffening of the seat washer or erosion of the brass rim caused by water pressure. The seat should be changed using a specialist seat wrench.
The seat can be removed by inserting the seat wrench firmly into its center and turning it counterclockwise until the seat comes loose. In case it sticks, apply penetrating lubricant and try again. Apply pipe adhesive to the threads of the new seat before using the seat wrench to screw it into the fixture body.
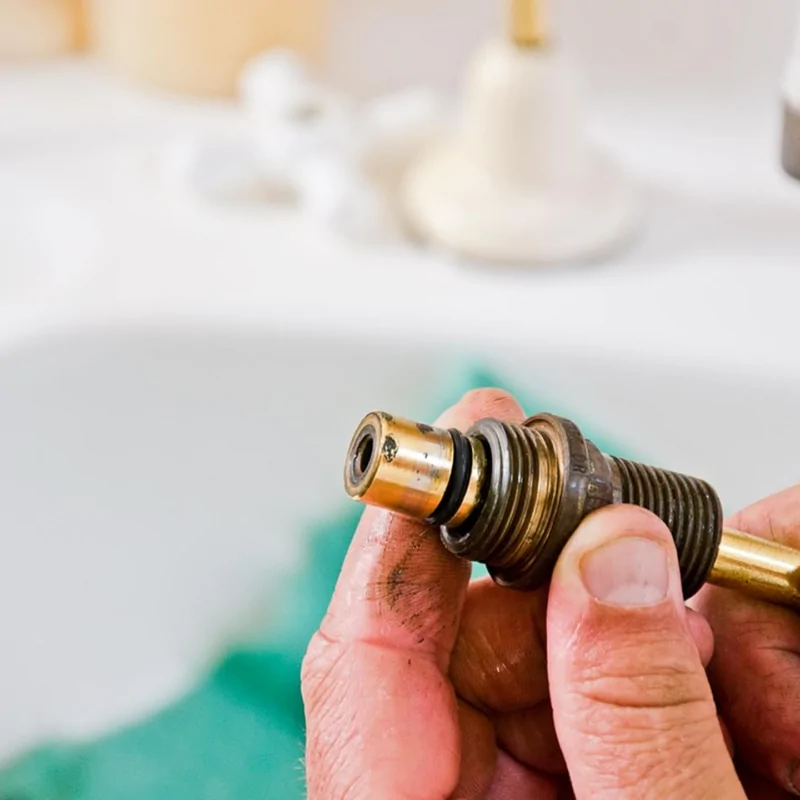
Step No. 5: Install New Parts
To reinstall the faucet, collar, and handle, follow these steps: Begin by securing the faucet stem by either screwing it in or pushing in the cartridge or ball until it is firmly in place against the valve. Next, tighten the collar pieces by screwing them back on. Finally, attach the handle back onto the end of the faucet and reattach any decorative plates. If you had to remove any escutcheon plates, make sure to apply a layer of plumber’s putty underneath them to prevent any leaks from seeping into the walls.
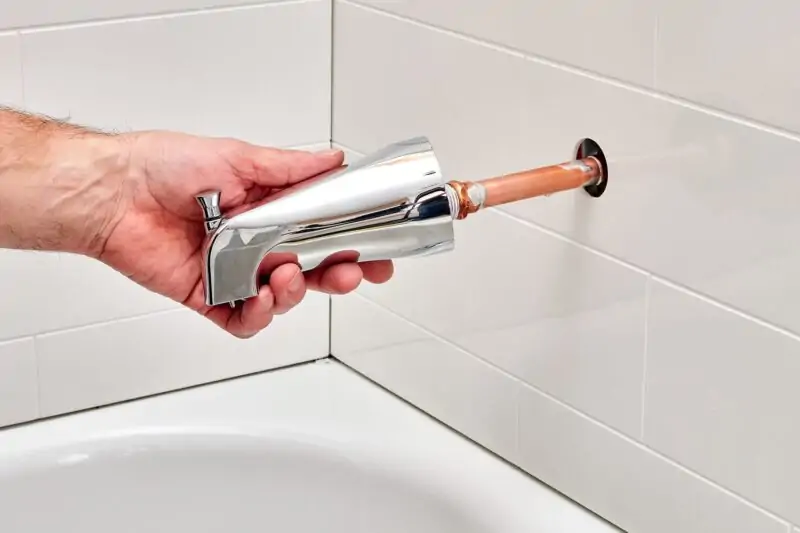
If you’re still experiencing leaks even after your previous repairs, it’s time to replace the tub spout. Here’s what you need to do:
- Check the bottom of the tub spout for a screw. If you find one, turn it counterclockwise to loosen it. If there’s no screw, proceed to the next step.
- If the spout is directly screwed into the wall, turn the entire spout counterclockwise to remove it.
- Make sure to remove any old Teflon tape present on the threading.
- Wrap a fresh layer of Teflon tape around the threading.
- Slide on the new tub spout.
- Screw the new spout in by turning it clockwise until it’s securely in place.
- To ensure a proper seal, apply a bead of caulk at the seam where the spout meets the wall.
Keep in mind that the old spout may have worn-out threading, which could cause water to leak. If you change the spout and the nozzle continues to leak, it’s recommended to contact a plumber to identify the underlying cause.
Bottom Line
In conclusion, this article has outlined the exact steps on how to fix bath faucet leak. You can easily apply these steps and resolve the issue. However, if the repairs don’t resolve the leak, consider contacting a plumber to replace the entire faucet assembly. It’s also recommended to call a plumber if the wall surrounding the single-handle valve cartridge is obstructing access.