How to Grow Ginger Indoors as a Houseplant: Growing Tips
Are you tired of constantly buying ginger from the grocery store? Why not learn how to grow ginger indoors? Not only is it a rewarding experience, but it also ensures that you have fresh ginger on hand whenever you need it. In this article, we’ll go over everything you need to know about how to grow your ginger houseplant successfully.
Overview of Growing Ginger Indoors
Growing ginger indoors can be both fun and challenging. It requires patience and proper care, but watching your plant sprout and grow into a healthy houseplant is truly satisfying.
Before diving headfirst into planting your own indoor garden, there are several things that must be considered. The first step in growing any plant, inside or out, starts with choosing the best materials possible.
Patience is key when growing anything from scratch! You won’t see results overnight; instead, expect growth within 8-10 months after planting. The name of the article should really have been: growing ginger indoors all year long, as it takes significant time for ginger plant to grow mature enough to be harvested.
Proper care during each stage is vital as well if you want to achieve success while raising plants like these!
Now let’s move on to selecting our perfect rhizome(s).
Selecting the Best Ginger Rhizome
When starting any gardening project involving seeds or roots (in this case), picking high-quality specimens will increase chances for success immensely!
Here are some tips when selecting your next rhizome:
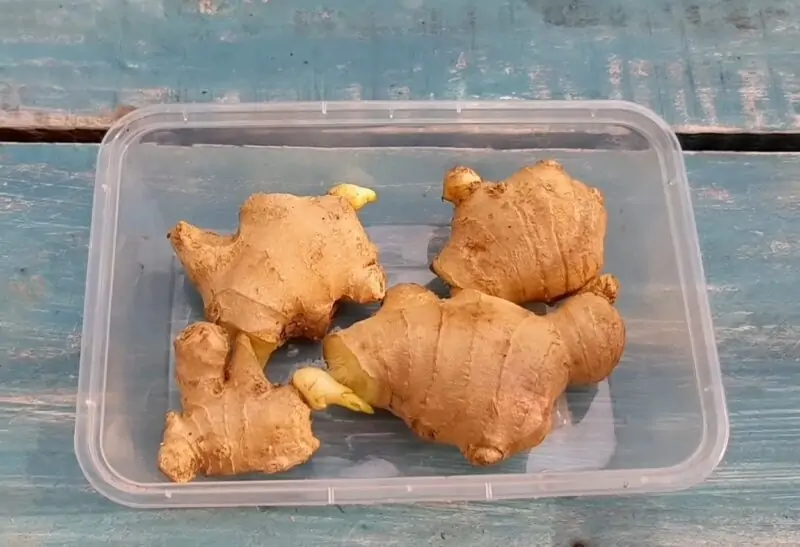
Importance of Fresh and Plump Rhizomes
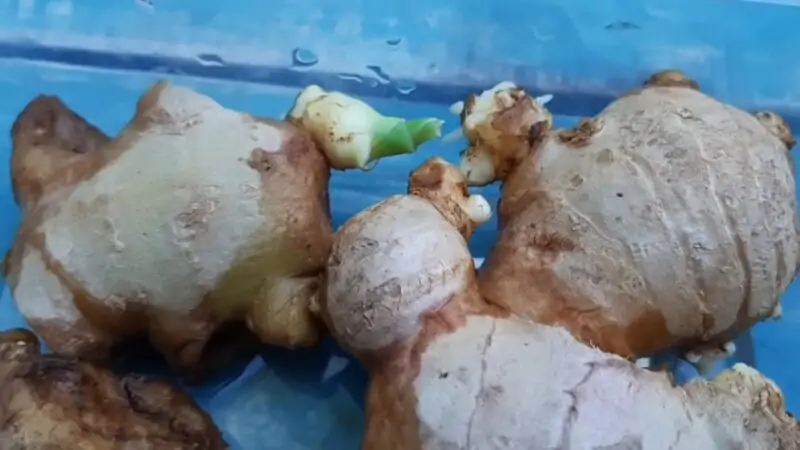
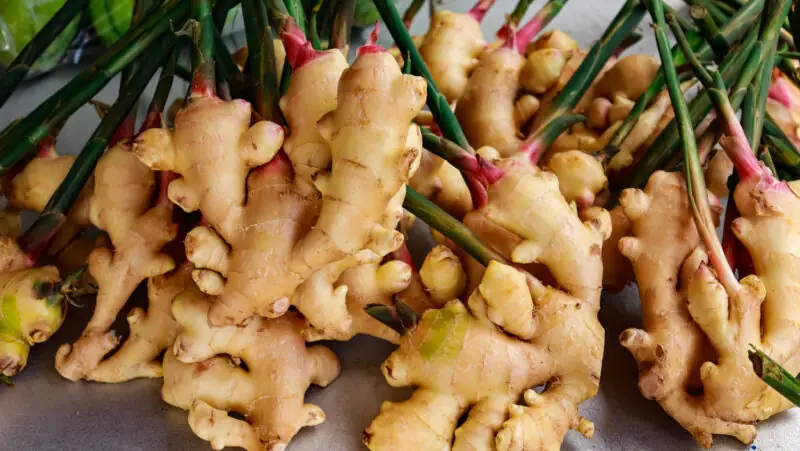
Choose fresh-looking rhizomes with no dry spots or moldy areas. The plumper they look – typically indicating more water content – the better chance they’ll produce viable buds once soaked before being planted.
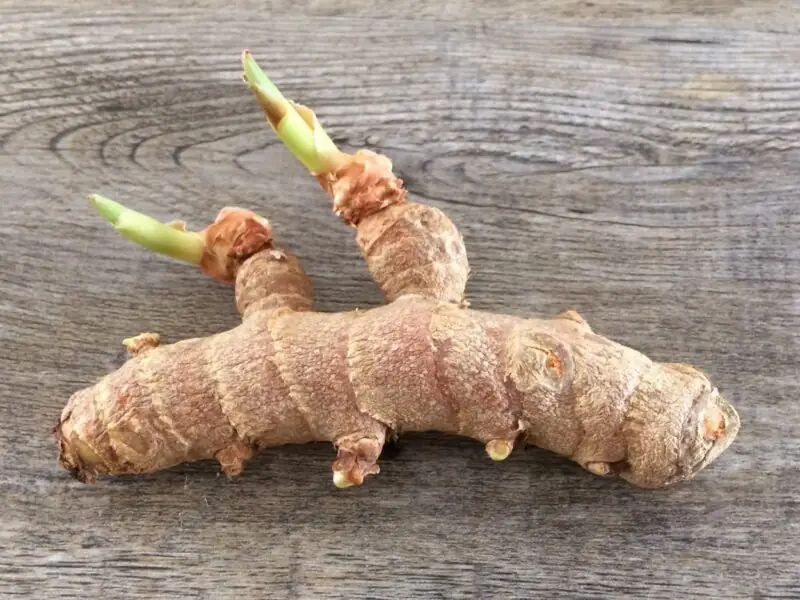
Identifying “Eyes” or Buds on Ginger
Be sure to inspect each root closely, as ‘eyes’ may vary in size depending on their maturity level; smaller eyes might not mature enough without appropriate attention given during preparation time.
Soaking and Planting Ginger Rhizomes
Once you’ve selected your healthy ginger rhizomes, it’s essential to prepare them correctly for planting. Here are the necessary steps:
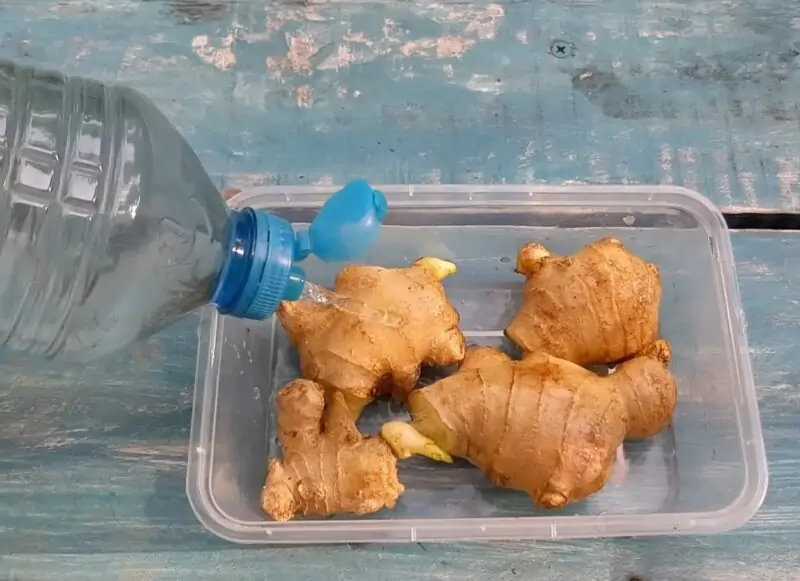
Soaking the Rhizome for Hydration and Sprouting
Soak the root in warm water overnight before attempting to plant it. This process hydrates the ginger and encourages sprouting.
Cutting the Ginger into Pieces with at Least One Eye
Next, cut up each root into pieces with at least one eye or bud present on each piece of ginger; smaller pieces can result too as long as they contain an adequate amount of eyes within them.
Drying Cut Pieces Before Planting
Dry out these freshly-cut sections by allowing air-drying over a couple of days. They should form a callus-like texture around their edges after being removed from the water soaking earlier.
An Appropriate Pot for Your Indoor Ginger
Now that we’ve prepped our rhizomes, let’s move on to selecting pots!
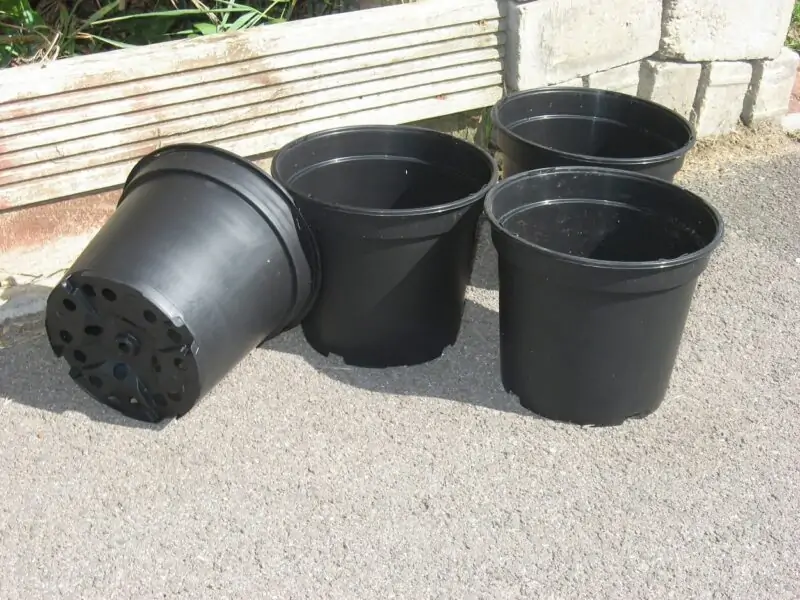
Selecting a Pot Size (Minimum 12 Inches Wide and 8 Inches Deep)
Ginger is known for growing horizontally rather than vertically – so be sure to choose wide and shallow containers! A pot size minimum should be twelve inches wide by eight deep, depending on growth rates during various stages throughout the plant’s life cycle. Drainage holes in the bottom are really a must!
Importance of Well-Draining Soil
Choose soil that drains well and doesn’t hold excess moisture. If you keep the soil continually overwatered, this will cause rotting roots and kill off any chance of successful cultivation.
Choosing Nutrient-Rich Potting Mix
Mix nutrient-rich soils like organic compost or vermiculite with regular potting mixtures when filling your container(s) evenly across all areas while adding additional layers if needed.
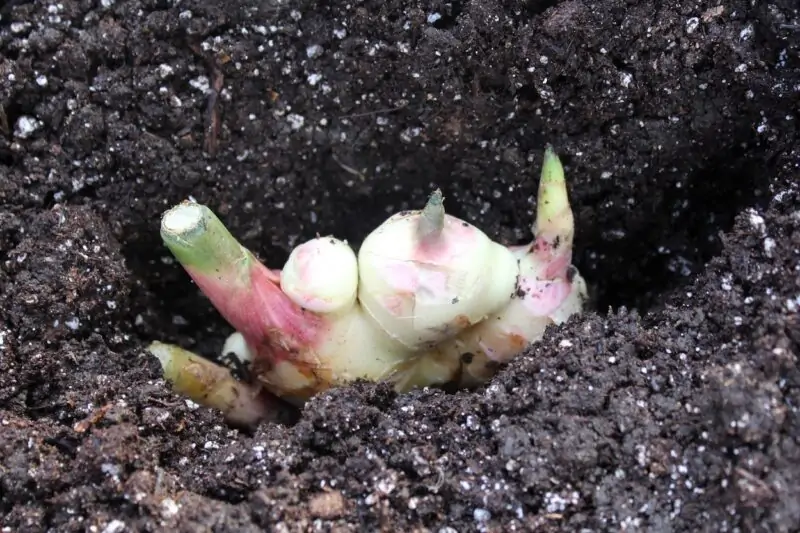
Ensuring the Health of Ginger Plant Sprouts
With everything prepared, now comes planting day! As simple as placing chunks inside dirt sounds, there is still much more involved in ensuring optimal results down-the-line!
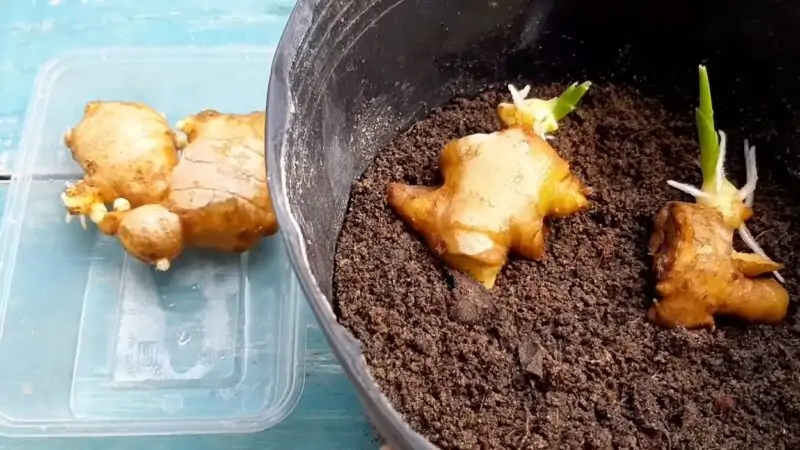
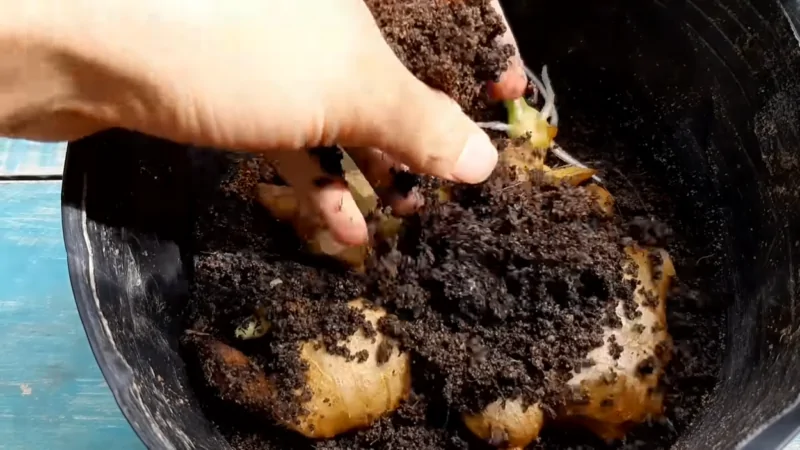
Positioning Eyes Facing Up
Place each ginger piece with its eyes facing upwards towards the surface level of the soil before covering it entirely.
Planting Depth (1-2 Inches)
Be sure to plant only 1 or 2 inches deep into your chosen potting medium when placing them in their new home.
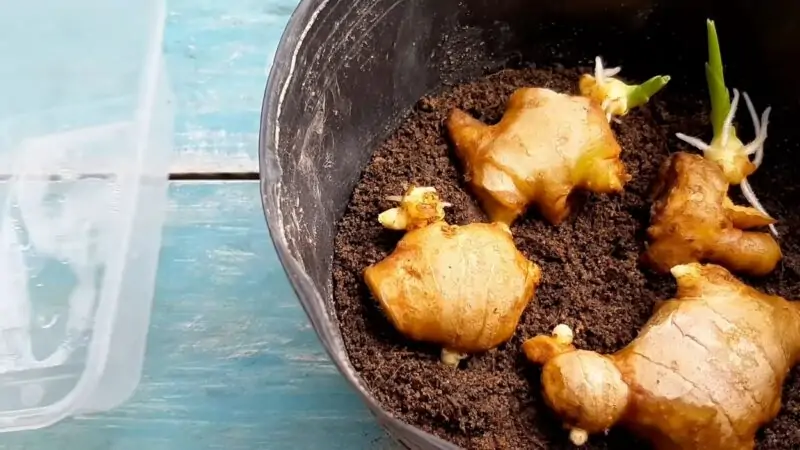
Spacing Multiple Ginger Pieces (3-4 Inches Apart)
Space multiple pieces adequately apart, keeping a distance between each one around three to four inches. This will give enough room for them all as they continue to grow over time: your plants won’t overcrowd themselves in the process!
Watering and Caring for Your Plants: Growing Tips
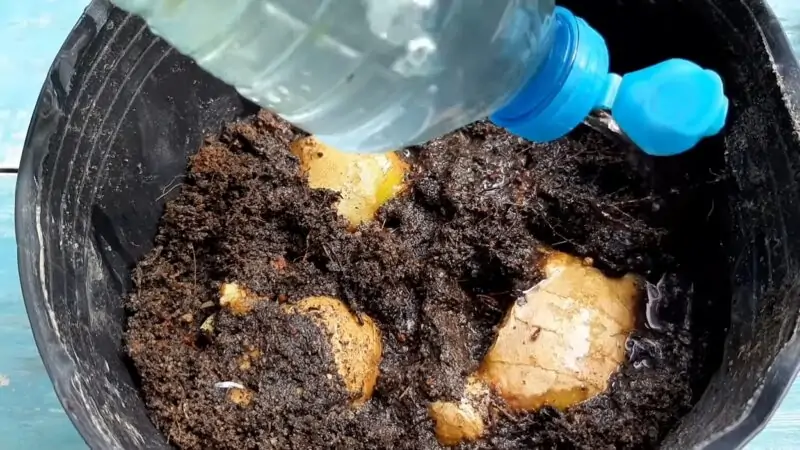
Now that you’ve planted your ginger, let’s go over how to care for it properly! Maintaining Moist but Not Waterlogged Soil
Ginger requires moist but not waterlogged soil throughout its life cycle; be sure always to check on moisture levels frequently once every couple of days at least! Providing Indirect Sunlight
Ginger plants need indirect sunlight exposure during their growth stage – too much direct light can lead to wilting leaves or stunted foliage growth instead. Keep yours out-of-the-way but still receiving appropriate lighting from windowsill locations suitable near other houseplants, perhaps? Ensuring a Warm Environment
A warm, comfortable climate is necessary while growing any tropical plant species indoors like this one – keep temperatures elevated above average indoor ones by maintaining ideal conditions such as utilizing heating lamps if needed!
Harvesting Your Ginger
Congratulations! You made it through the entire process successfully!
It’s now been approximately eight months since planting day – which means harvesting time has arrived!
Here are some things that must be considered: Time To Maturity (8-10 Months)
Harvest mature roots after reaching maturity within a timeframe ranging anywhere between eight up to ten months post initial plantation date. Identifying When To Harvest (Yellow Leaves And Dying Back)
Look out for yellowing leaves or dying-back ginger foliage as indications of when to prepare for harvesting soon ahead. Harvesting Technique (Gently Digging Around The Plant)
Dig around your plant carefully to remove the root – ensuring not to break any parts off in the process! Harvest What’s Needed And Allow The Rest To Continue Growing
Harvest only what you need, leaving behind a part of each rhizome still growing in the soil where it can continue developing for future use.
Tips for Growing Ginger as a Houseplant: an FAQ
It takes around 8-10 months for ginger to mature when grown indoors.
The minimum pot size recommended for growing ginger is 12 inches wide and 8 inches deep.
Yes, you can use store-bought fresh or plump rhizomes with visible buds/eyes as planting materials.
Yes, nutrient-rich well-draining soil mixes are highly recommended by horticulturists because they provide good drainage while retaining moisture and nutrients necessary for growth.
No, too much direct sunlight will cause wilting of leaves; instead, indirect lighting works best.
Take note of yellowing leaves/dying back, then gently dig around the base of your plant until you locate its roots (rhizome), which has reached maturity after about eight to ten months.
Growing houseplants reduces indoor air pollution levels and produces oxygen on which we depend on. Living organisms, including humans, benefit from this natural process.
Conclusion
Now you know how to grow ginger indoors: while it takes time, there is nothing really complicated about it. Following the above-described easy steps will ensure a bountiful harvest and plenty of fresh ginger on hand whenever needed. Remember, always take your time and pay attention to every step along this long road towards successful indoor gardening practices!
By growing ginger indoors as a houseplant, you can enjoy its tropical foliage and fresh ginger root all year long. So why not start today? Grab a ginger rhizome, pot, and potting soil, and let the fun begin. Happy growing!