How to Paint Baseboards: A Step-by-Step Detailed Guide
Freshly painted windows, doors, and especially baseboards are one of the best ways to make your room look clean and fresh. Painting your interior trim is one of the easiest ways to raise the value of your house, so you really need to know how to paint the baseboards, keep them clean and prevent future discoloration. With newly painted baseboards the rest of your room will truly sparkle. What’s more, such a project will only take a day or two to finish, so it is definitely worth your time and money, considering how much value you can get from it.
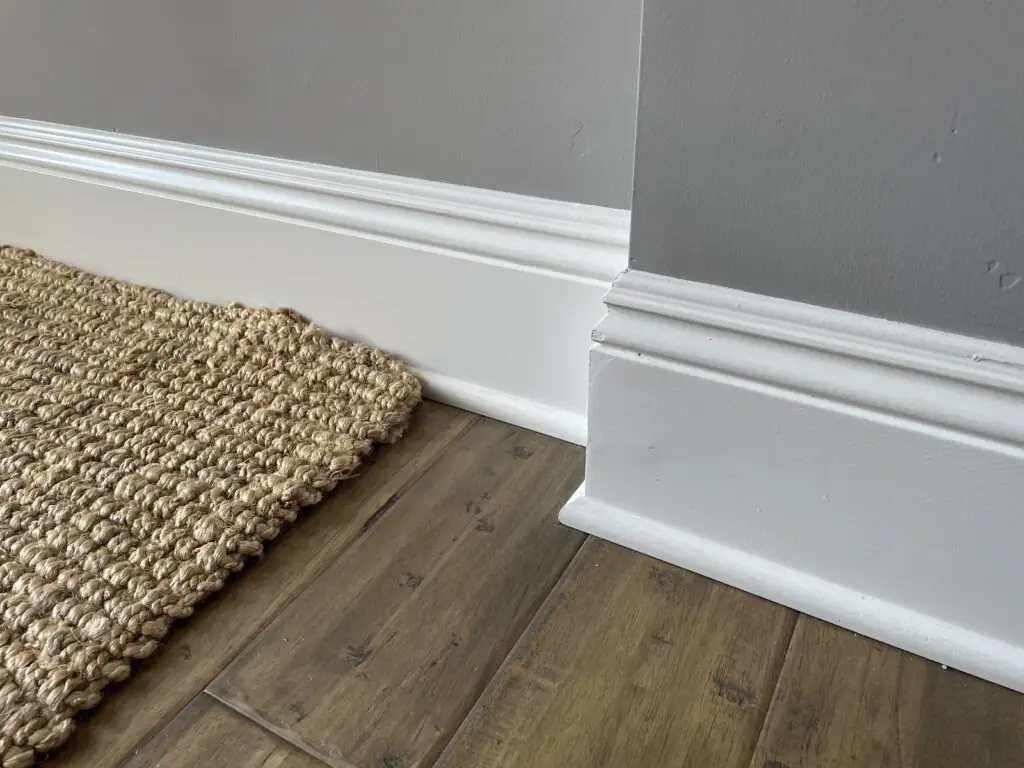
Baseboards, also known as wall trim, are not only there to make your room look nicer; they have a practical function as well. They prevent you from pushing the furniture all the way to the wall, which not only prevents you from scraping the walls but also protects the furniture itself. When there is no gap between the wall and a piece of furniture, such as a sofa or a wardrobe, the moisture won’t be able to escape, and the mold will start to grow.
Before you Start
There are some important details you should know before you start painting your baseboards, as well as a few suggestions that are worth keeping in mind.
Consider the Alternative of Removing the Old Baseboards Instead of Painting Them
Sometimes, instead of painting your old baseboards, it’s better to remove them and install new ones. On the other hand, there are also situations where you can do damage to the walls if you remove the baseboards.
Still, you will have an easier time painting these boards if you remove them from the walls beforehand, so even if you are not planning to replace them, it is a good idea to separate them from the vertical surfaces.
If you live in a newly built house that has not been remodeled or renovated in the past, removing the baseboards will be extremely easy and totally safe for the walls. All you need is a pry bar and the right technique. Stick one end of the pry bar between the wall and the baseboards, with the pry bar pointing towards you. Slowly push the pry bar towards the wall until you have separated the baseboards from the walls. This is a really useful skill to know because many DIY projects, such as installing new floor tiles, will require you to separate the wall trim before you start.
If you happen to live in an older house that has been painted over many times, you won’t be able to remove the wall trim without damaging the wall. The wall trim is completely glued to the wall because of numerous layers of paint, so the removal of it will rip the drywall paper and cause permanent damage to the wall. If you are really determined to remove the board, you can score the seams with a sharp knife. This trick can prevent a lot of damage, but there is still a chance you might damage the drywall paper.
If you have not yet installed the wall trim, you will have an easier time painting the boards if you do this before installing them. The installation can cause minor damage to the paint, but it will be mostly on the side that is connected to the wall, so it won’t be much of a problem since it is mostly covered and hidden. If there are some scraped or discolored spots, you can fix them after installation.
Necessary Equipment and Materials
The tools for this project are the same as the ones you would use for any other painting job. You will need a 1- or 2-inch sash brush which will be used to apply both the primer and the paint. You won’t need a roller since the surface you will be covering is relatively small, so it is not efficient to use it. Other equipments required are a sponge, a putty knife, a 5-gallon bucket, fine sandpaper, and safety equipment like gloves and protective glasses.
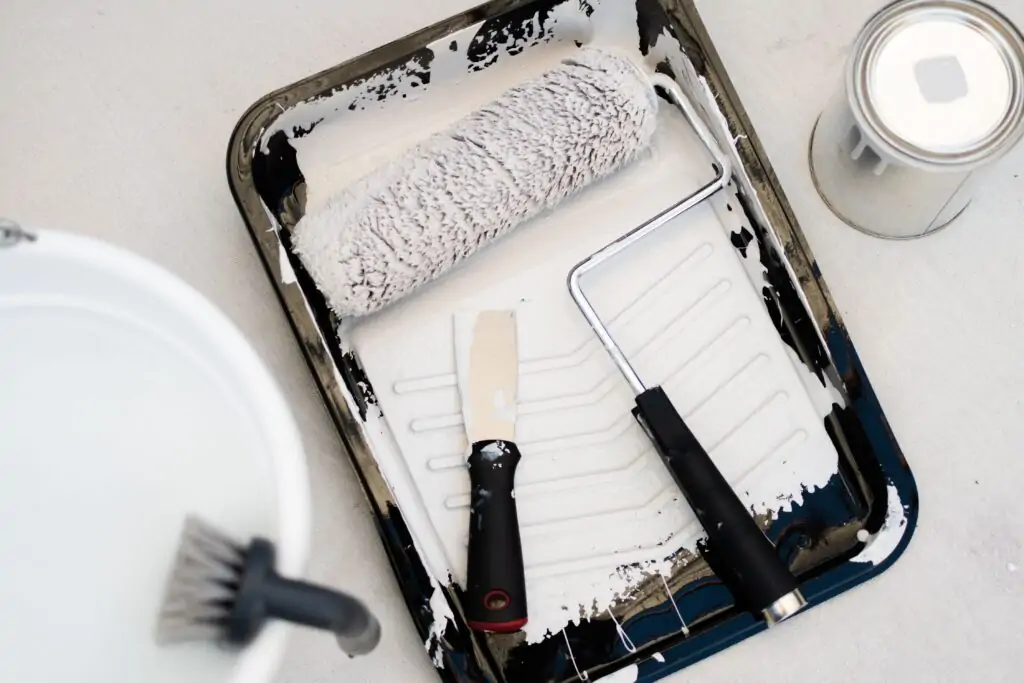
When it comes to materials, they are also pretty standard and similar to what you would use for other painting jobs that involve wood. First, you will need a degreasing agent to remove dust and other debris to allow the primer to stick to the wood fully. You will also need a wood putty to fill up scratches on the surface to make it even. To fully prepare the surface, you have to use a primer as well. You can use any primer as long as it is compatible with the material you are painting and the type of paint you are planning to use.
The choice of paint is entirely up to you, but we recommend that you should use semi-gloss or high-gloss. Low gloss paints tend to discolor faster, and because of that, the wall trim can look quite dirty.
Instructions
First, remove the baseboards following the recommendations above. Then you will need to clean them. If they are made of open-pore wood, you cannot do it with water: use a dry towel instead. If the board is made of regular wood or any other material, you will be able to use a mixture of water and the degreasing agent. Mix them in a small bucket and apply the mixture using an old sponge. The top of the wall trim can be especially dirty, so make sure to clean it at least two times. Wipe the surface after a few minutes to remove excess water.
1. Prepare the Wooden Surface
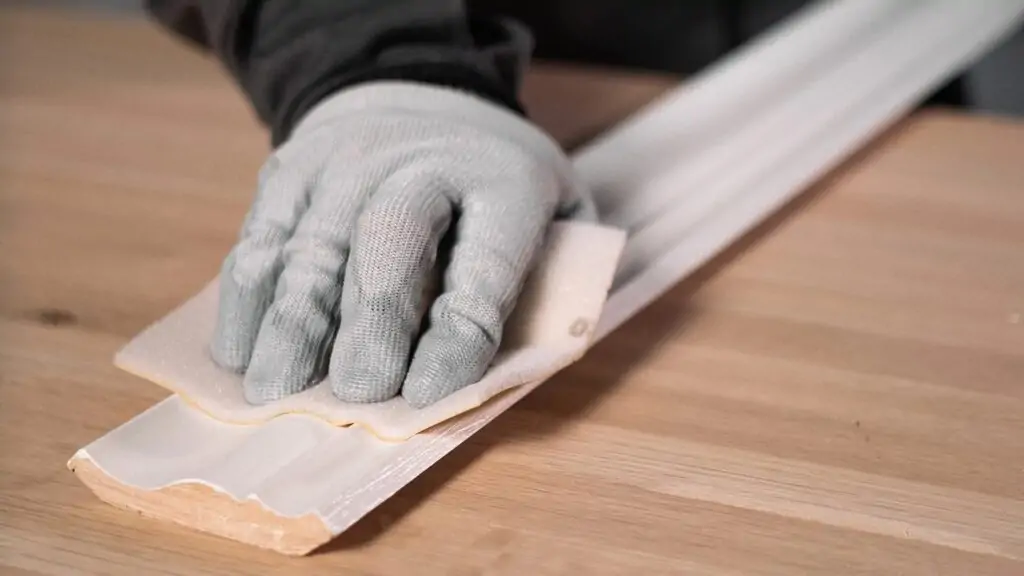
First, check if there are any nicks on the surface. If you happen to find any, remove them using a knife and wood putty. Apply the putty onto the damaged area and smooth it using a putty knife. Leave it to dry for at least five minutes, after which you will need to sand the whole surface using fine sandpaper. The primer will not apply to the surface that is already painted, so make sure you sand the whole surface properly. Get rid of the newly formed dust with a damp towel and allow the surface to dry.
2. Apply the Primer
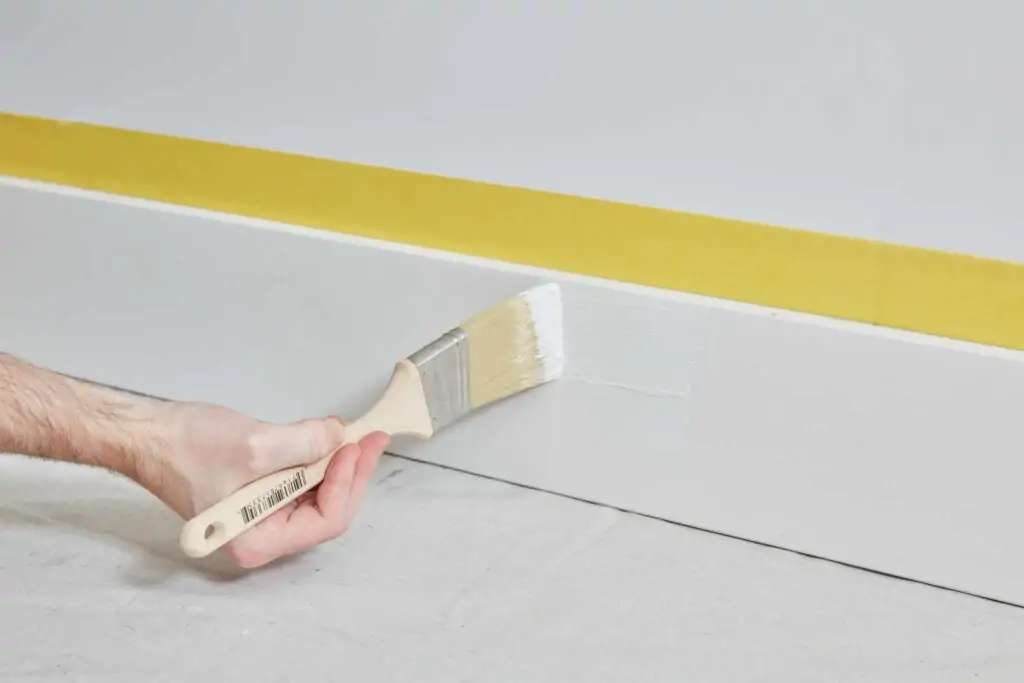
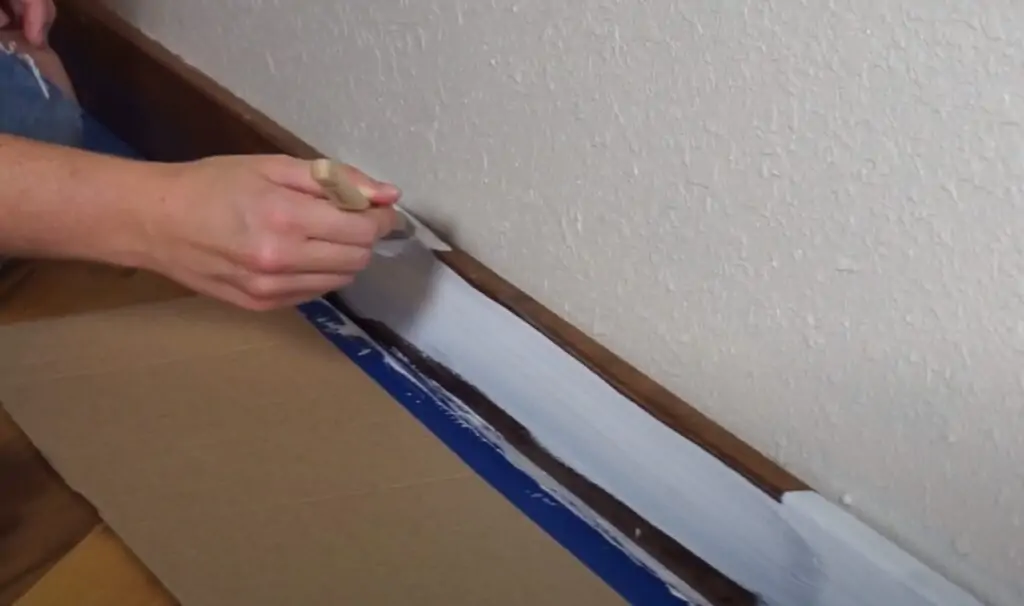
If you didn’t remove the baseboards from the wall, use painter’s tape to cover the edges so you won’t accidentally paint the wall or the floor. Then, you can start applying the primer using a small brush. Apply the first coat of the primer with long continuous strokes, followed by the second coat after the first one has dried.
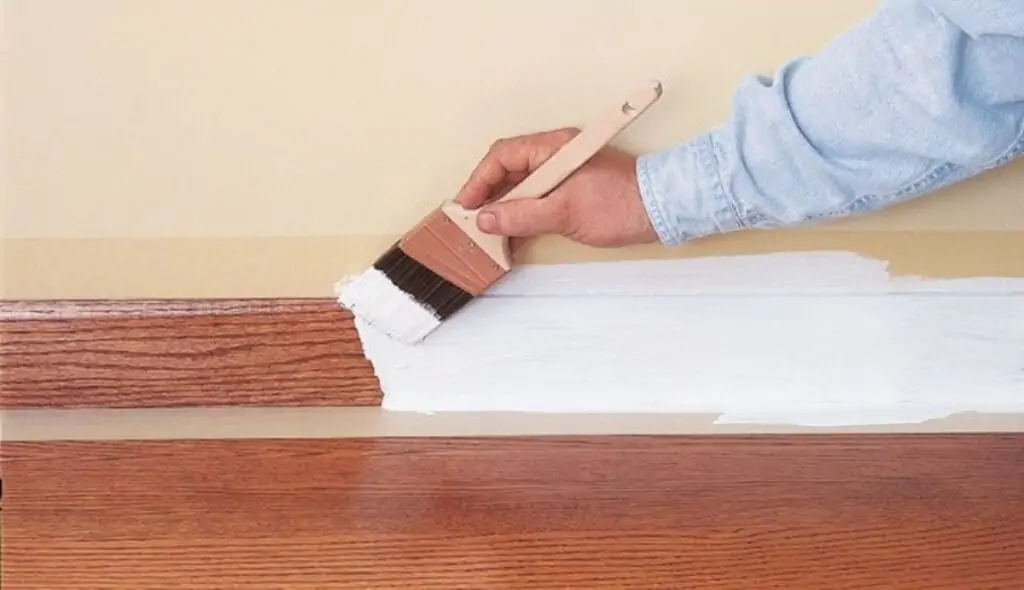
3. Start Painting
Pour the paint into a 5-gallon bucket and dilute it using a thinner. Apply it using a small brush with long back-and-forth strokes, and make sure you don’t make a mess. Wait for half an hour for the paint to dry, after which you will need to apply the second coat that will dry for 24 hours. After you are done painting, clean the brush immediately.
If you still have some unanswered questions, watch this amazing YouTube video:
FAQ
Here you will find the answers to commonly-asked questions.
Latex paint is usually the best choice if you are painting any type of wood. When it comes to color, it is completely up to your imagination, but make sure it matches the rest of the room.
You can use painter’s tape to catch the drips. There are painter’s tapes of numerous widths available on the market, so it won’t be a problem to get the one that suits you best.
Hopefully, now you know how to paint your baseboards. Make sure you understand every step and take your time so you won’t make a mess, and the most important thing, don’t forget to have fun. Good luck with your future DIY projects, and see you soon!