How to Paint Tile Floor: A Step-by-Step Detailed Guide
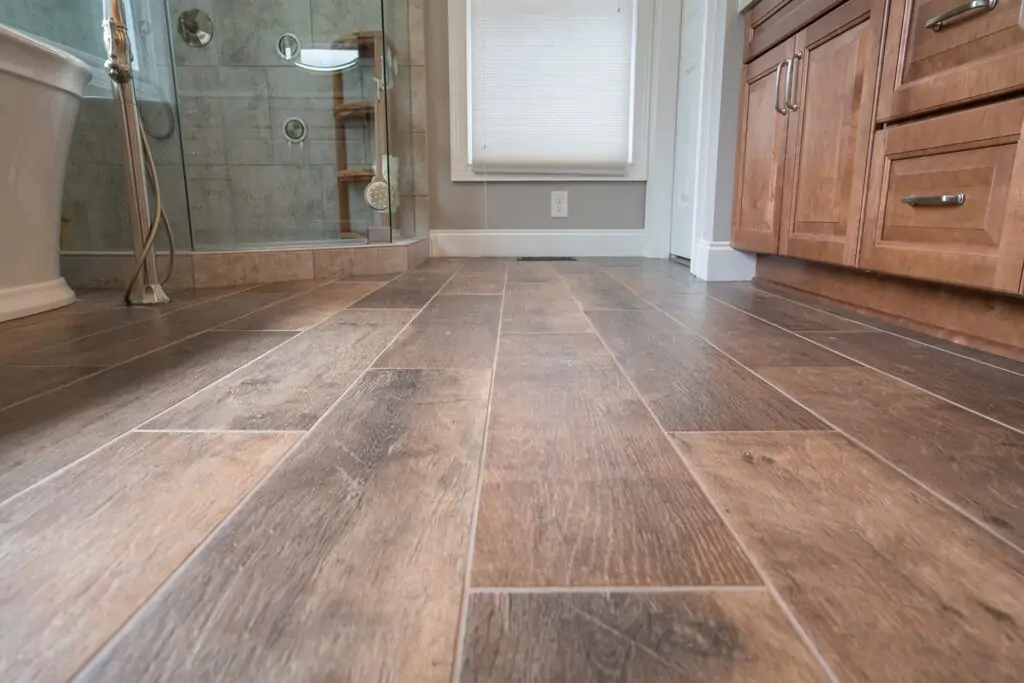
Tiles are arguably the most important feature of any bathroom or kitchen, and they are the very first thing people notice when they enter a room. As they have a tendency to degrade over time, their color can start to fade away, so it will be really useful for you to know how to paint your tile floor.
Tiles are not only there for the look: they also have multiple practical purposes. This means that if your tiles are damaged in any way, this might reduce their effectiveness. Tiles are usually much easier to clean than other floor surfaces, and they are normally more durable. Probably the biggest advantage over other surfaces is that you can install underfloor heating beneath the tiles since they are the only material that conducts heat well.
Essential Things You Need to Know Before You Start Painting
There are some important details you should know before you start painting your floor tiles, as well as a few suggestions that are worth keeping in mind.
First, you should know that this project will require at least 3 to 4 days to finish, or even a whole week if it is your very first time painting something, so make sure you have enough free time in your schedule.
This activity can also be really labor intensive and hard on your back since you will have to either kneel or squat for a long time to both prepare and clean the tiles and paint them. Thus, if you have any back problems, you should hire a professional instead of risking your condition getting worse.
What Type of Tile Surface Can Be Painted
There are certain types of tiles, as well as places in a house where tiles should not be painted. For example, one such place is the entrance of the house, as well as areas around doors of the rooms that are used often. More traffic in and out of the rooms means more steps, and with more steps, the color will start to fade away sooner, and the paint will start to peel off. The exception to this rule is when the area is covered with a rug. The rug will absorb most of the pressure, and it will prevent friction between your feet and the floor.
Another area that should be avoided is inside and around showers and bathtubs. Paint applied to ceramic tiles tends to peel off if it is exposed to constant moisture.
What Type of Paint You Should Use
Floor tiles are constantly stepped on and scratched with furniture, so the paint will last any measurable time only if it is durable and of high quality. If you use cheap paint, you will end up having to repaint the tiles every few months or even weeks. Semi-gloss 100 percent acrylic paints are perfect for this kind of project. They are affordable, easy to dilute and apply, and you can find them in almost any hardware store.
You will also need a semi-gloss primer that is also of high quality. If you are painting ceramic tile, you should thin both the primer and the paint, and instead of applying one or two thick layers, you will have to apply many thin layers.
If you have some extra free time and want to make the floor look even better, you can also color the grout lines. Choose a contrasting color to the rest of the tile and use an artist’s brush to apply the paint. This will take you at least a few days, so be patient and take your time. This job can be really demanding and strenuous, but the results are definitely worth all the hard work.
How to Protect Your Painted Tile Floor
There are certain things you should keep in mind before you start painting, as well as a few things you should avoid doing:
- Avoid dragging heavy furniture; instead, lift it slightly and slowly move it around.
- You should never place anything hot on the painted surface. Heat can form air bubbles in the primer, which will cause the paint to start peeling.
- It is really important that you let every layer dry completely. It may seem like it is a huge waste of time to apply all those layers, but it will save you a lot of time and effort in the long run. If you apply fewer layers, you will have to repeat your painting job again and again in the future, which in turn will cost you more time (to say nothing about money) than just applying a few additional layers.
- The primer won’t stick to the surface if there is dust and other debris, so it is crucial that you clean and dust the whole surface thoroughly. You will also need to sand the tiles using rough sandpaper.
Required Tools and Materials
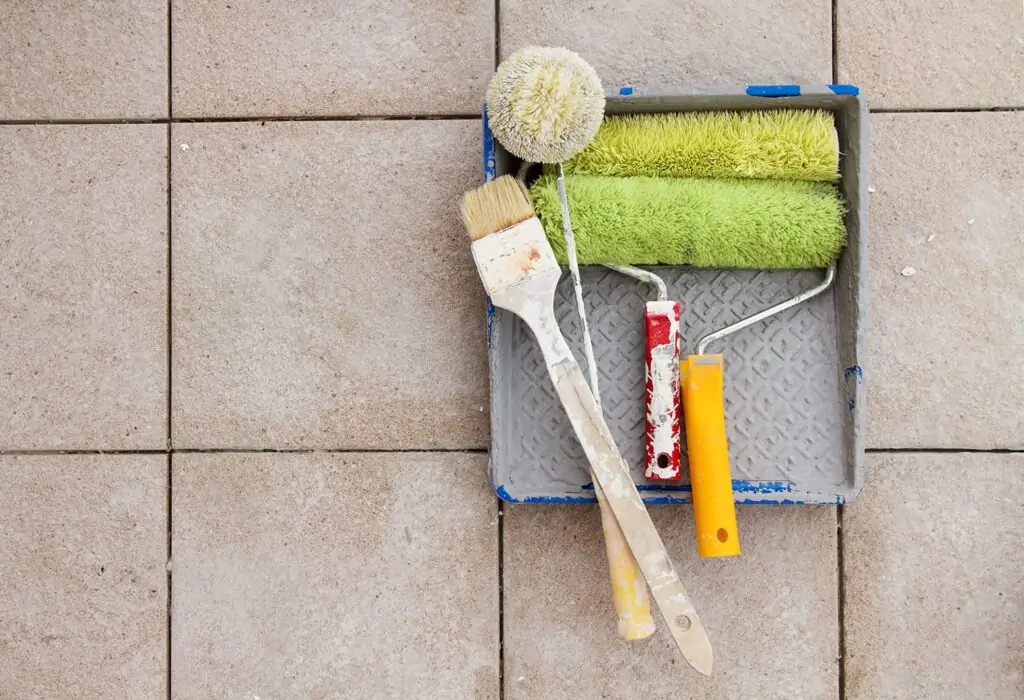
The tools for this project are the same as the ones you would use for any other painting job. You will need a high-quality roller, preferably with a short-nap cover and a small brush. You will start by using the roller to cover most of the surface, and then you will fix any spots you missed with the brush. You will also need an extra small artist’s brush that will be used to cover the ground lines between the tiles. Additional equipment that is needed is rubber gloves, a rough sponge, sandpaper, old rags and towels, and a painter’s tray.
When it comes to materials, apart from the primer and paints mentioned above, you will need a heavy-duty degreasing agent, high-quality polyurethane, painter’s tape, paint thinner, and denatured alcohol.
Instructions
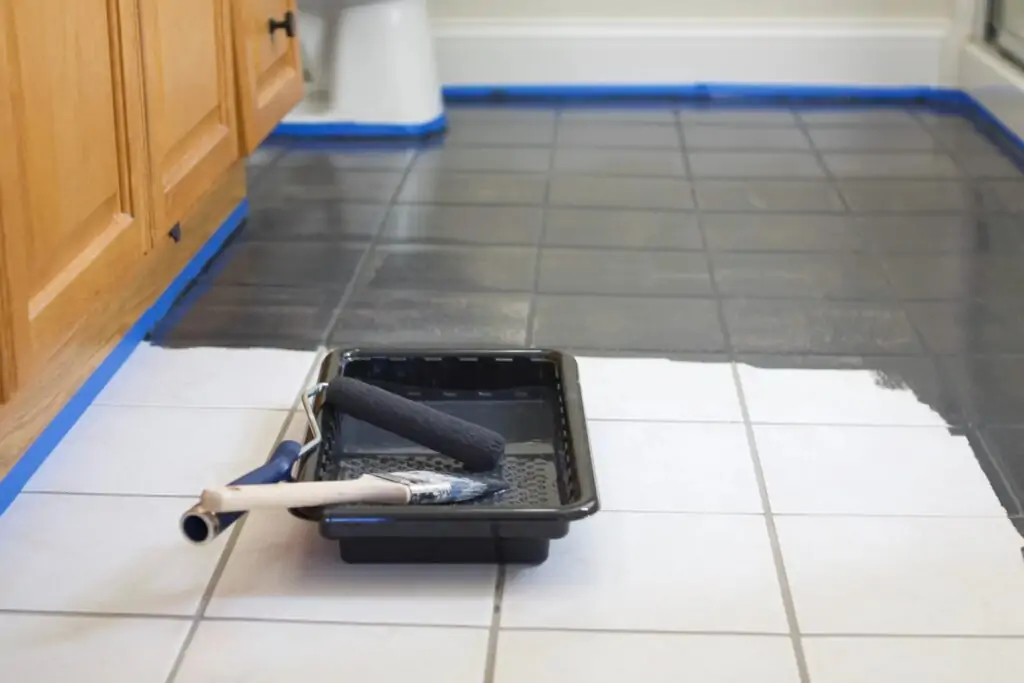
Before you start painting, you will need to clean the floor surface and prepare it for the primer. Start by wrapping painter’s tape around the edges of the area you are painting. Clean the tiles with a wet towel and try to find if there are any cracks in the grout or damaged tiles. The holes in the grout can be patched, or you can replace the old grout and apply the brand new one. When it comes to tiles, you will have to replace the broken tile. The repairs should dry for at least two days before you proceed to the next step.
1. Sand the Surface
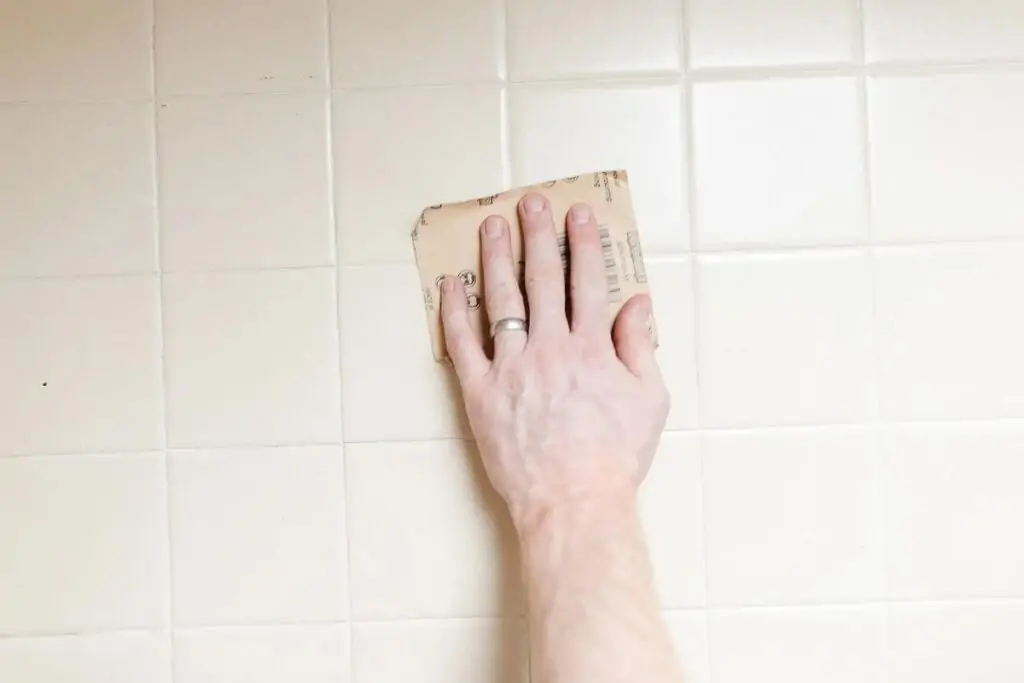
Now that the surface is clean and repaired, you will sand the tile using 220- grit or lower sandpaper. This will help to create a rough surface that will be able to soak the primer much better than the otherwise smooth ceramic surface. Don’t press too hard; otherwise, you might cause permanent damage to the tile. Wipe the surface with a wet towel one more time to remove the newly formed dust.
Spray the degreasing agent onto the whole floor surface and rub it in using the sponge. Leave the agent to soak for at least half an hour, after which you will need to wipe it off with a wet towel. Clean the towel under hot water and wipe the surface at least two times.
2. Apply the Primer
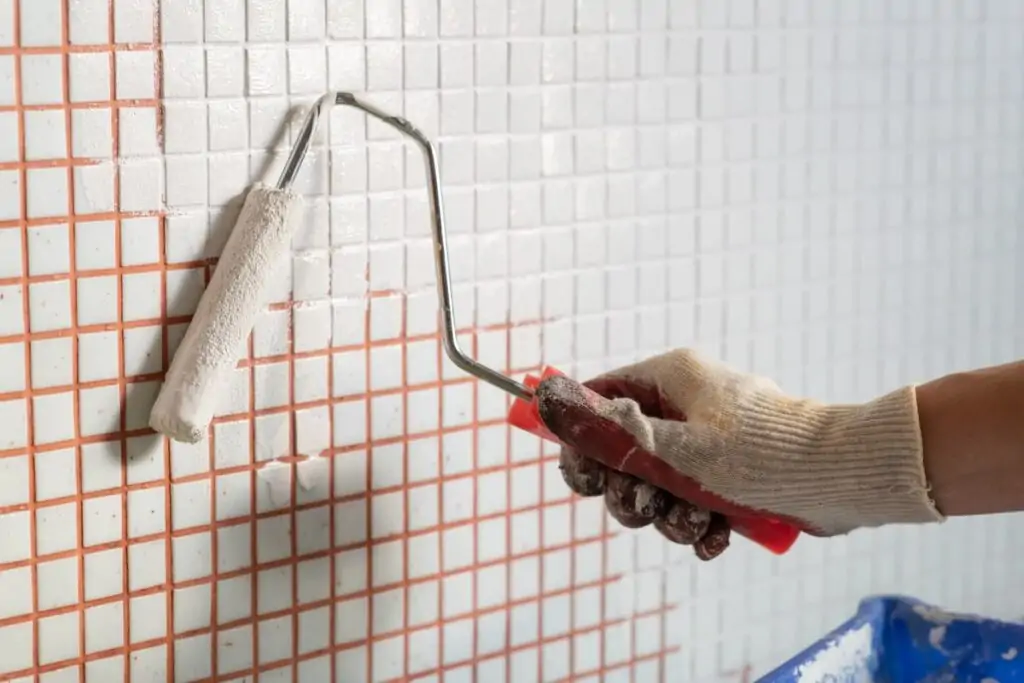
If you have properly sanded the whole surface, you can start applying the primer. Pour it into a small bucket and slightly thin it using a thinner, so it forms a smoother coat.
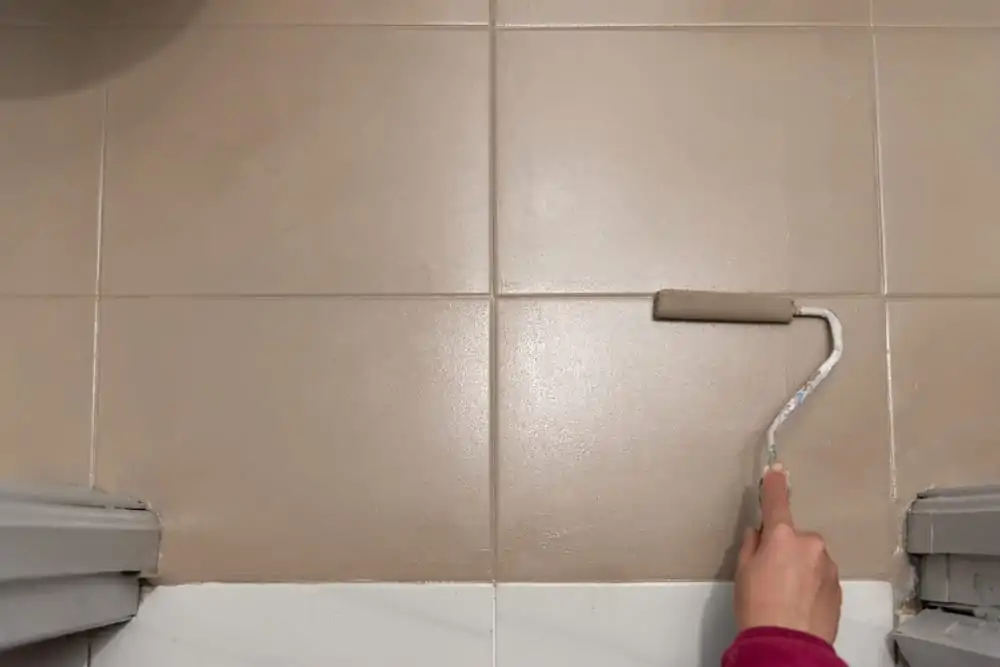
First, start with a roller and cover most of the floor, then using a small brush cover the edges and any spots you might have missed. Don’t apply too much pressure with the roller; otherwise, you might scratch and damage the tile. Let the first layer dry for 4 hours, then apply 2 or three more coats, with 2 hours in between each one. The last one should be left to dry overnight. If you notice any brush lines in the morning, you can remove them using fine sandpaper.
3. Apply the Paint
Applying the paint is almost entirely the same as applying the primer, but there are a few extra steps. First, pour it into a 5- gallon bucket and slightly thin it using a thinner. Then, pour a small amount of the mixture into the painter’s tray and refill it whenever you run out of it. Begin by covering the edges with a small brush. Then you will apply a thin coat using a roller and leave it to dry for the duration recommended by the manufacturer. After the first coat has dried, you will apply the second one using the same technique. If you can still see any uncolored sports, you will need to apply the third coat.
If you are satisfied with the color, you can cover the grout lines. Make a new mixture, preferably with the color that contrasts with the first one, then using an artist’s brush apply a thin layer on the grout lines. It’s not that difficult to accidentally color the already painted tiles, so you must be really careful. After you are done painting, immediately wash all the equipment under hot water before the paint hardens.
If you still have any unanswered questions, watch this amazing YouTube video:
FAQ
If you follow the recommendations on how to protect your floor and you use proper materials, you won’t need to fix them for at least six months, maybe even longer.
Acrylic is the best choice since it is really the most durable and affordable option. You can get away with using latex paints, but they won’t last nearly as long as acrylic ones.
Hopefully, now you know how to paint your tile floor and how to preserve it. Make sure you understand every step of the process and take your time, so you don’t make a mess. Good luck with your future DIY projects, and see you soon!