How to Build a Retaining Wall (Step by Step Guide)
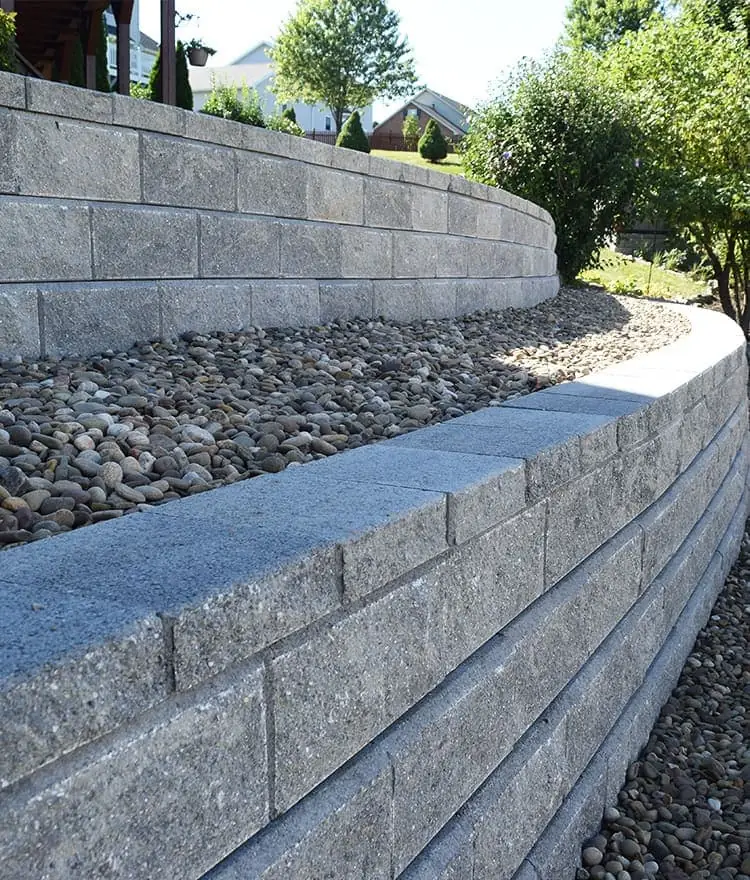
Did you ever wonder how to build a retaining wall on a slope? Building anything on a hilly terrain may seem like a big challenge, but learning how to do any construction project on a slope will be really rewarding. You will be able to make much more effective use of your property since you will be able to use a part of your backyard you weren’t using before.
What’s more, such a wall will be an excellent addition to your property. It will prevent landslides and reduce erosion, turn your garden into terraced backdrops, and create an important focal point in your backyard. In this article, we will show you how to build a retaining wall on a hill, step-by-step.
Retaining walls also serve a functional purpose. The foundation will provide stability to the soil, and that will open up new possibilities for your backyard. You will have an easier time creating flat surfaces in your sloped backyard that can be used in your future DIY projects. It will also provide privacy and safety for your house.
There are a few mandatory steps you will have to do before you start the construction:
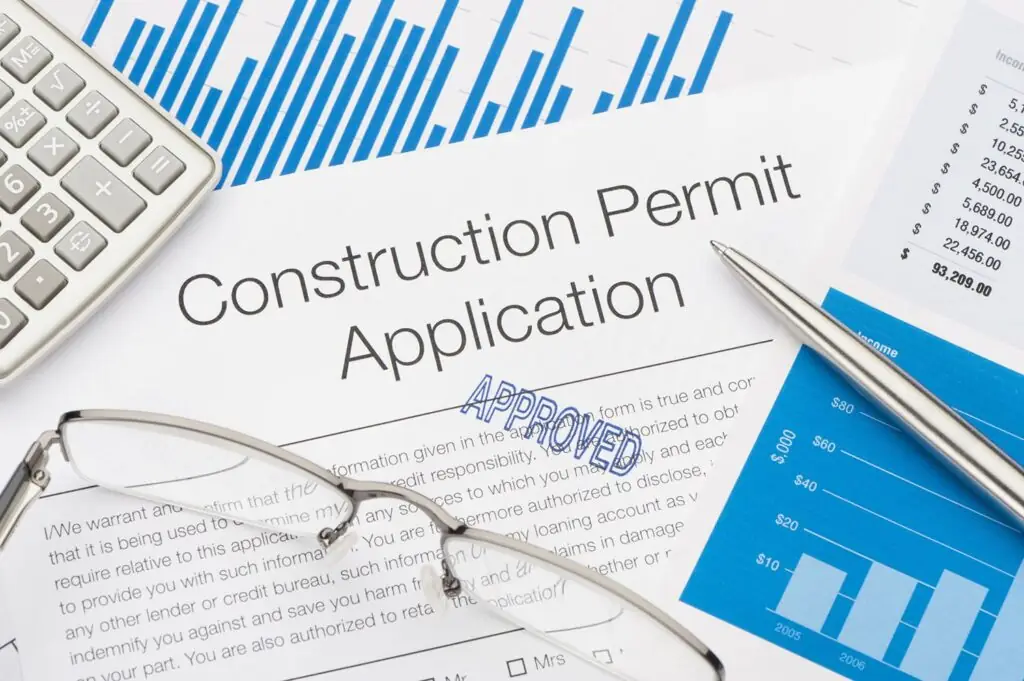
Checking in With the Local Authorities
Retaining walls that are built on a slope can alter the drainage paths of water and direct the water into the houses of your neighbors and cause flooding and water damage. Because of that, you will have to check if there are any rules you will have to follow associated with the construction. There might be a maximum allowed height and width, the required depth for the foundation, minimum proximity to property lines, and so on.
Turn to the authorities to ask if there are any necessary permits. Some communities always require a permit to build retaining walls, and some will allow you to build one with no permit under certain conditions. For example, you can construct it as long as it is no higher than 4 feet or not located in a location that might cause damage to the environment.
If it turns out that the permit is required in your area, the retaining wall must be built with predetermined rules in mind. It can not pose a risk to the neighboring houses and the environment. You are prohibited from undermining land if it extends to other properties, cut into a slope to build the retaining wall, and place it in the way of a natural drainage path.
Structural Integrity
Because of their purpose to stabilize the soil around them, retaining walls that are built on a slope have unique structural requirements that differentiate them from other types of walls.
Most garden walls are built to provide privacy, indicate the edges of your property, provide safety for pets and kids and keep them inside of your backyard. Building small garden walls using cinder blocks, stacked stones, or just making a simple wooden fence is usually enough.
Building retaining walls is a considerably more difficult task. Such walls have to withstand the pressure of thousands of pounds of dirt or even more during heavy rain or when the snow starts to melt in the spring. When you are doing calculations and making plans for your wall, keep in mind these short-period stresses and make sure that your construction is capable of sustaining double the ordinary pressure.
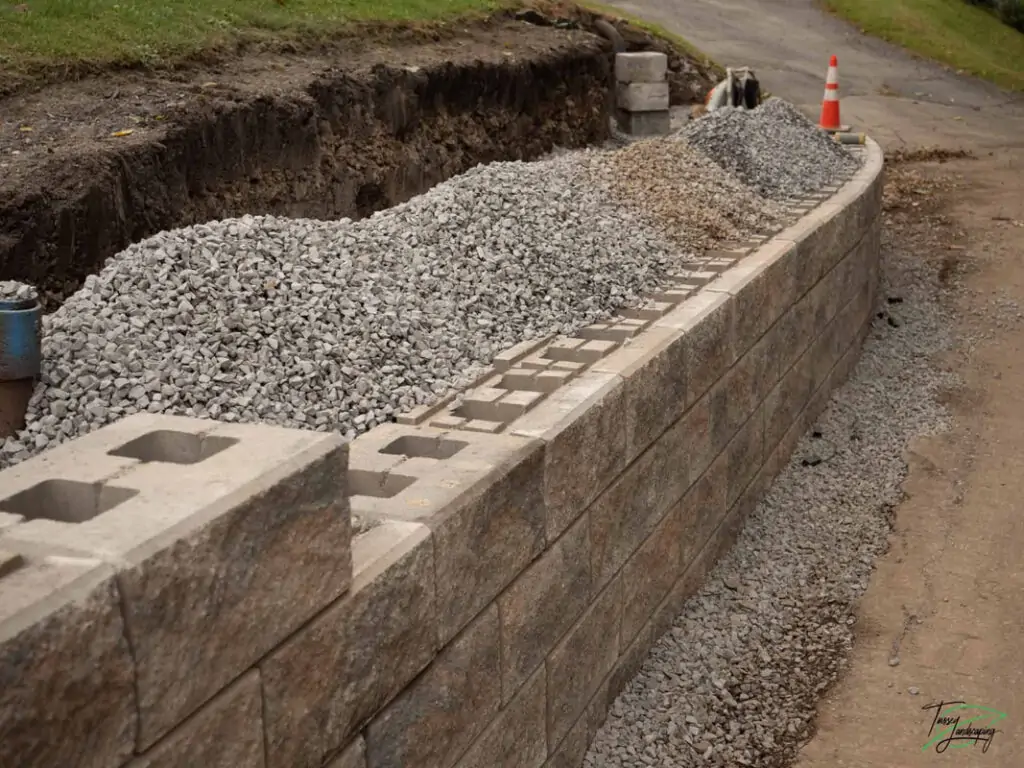
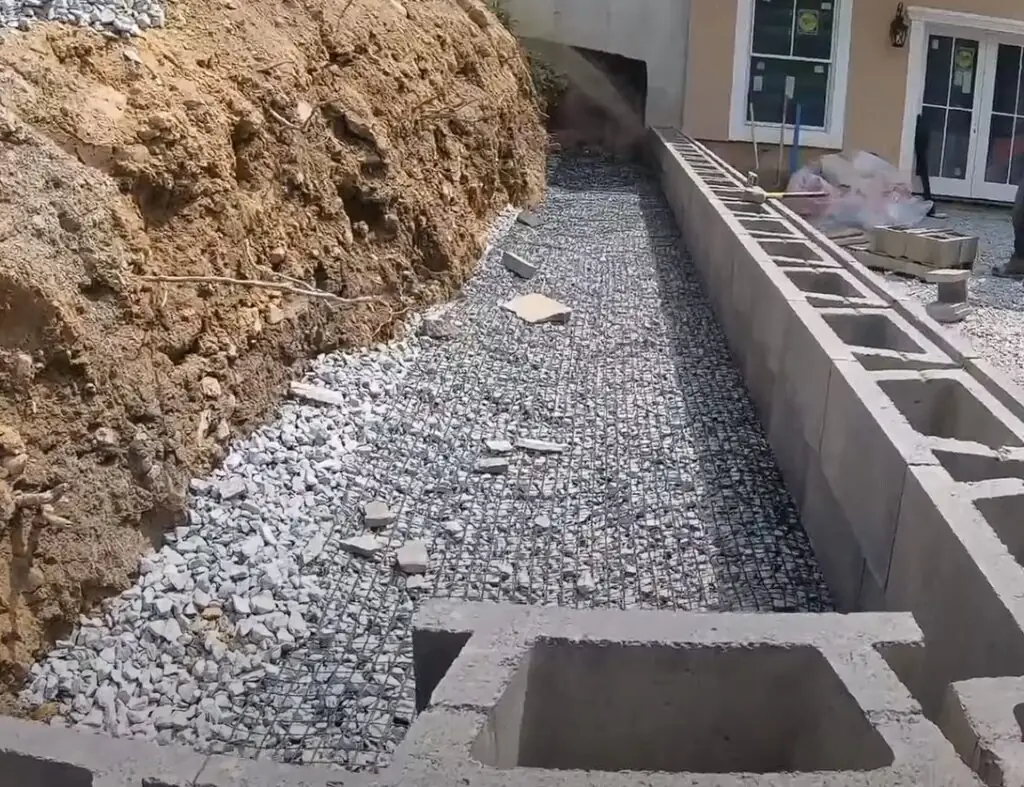
Because of this requirement, the space behind the wall is always filled with water porous material instead of soil to allow water to drain. Sand and gravel are the best choices. You can even install retaining pipes and attach them to your drain pipe for even better drainage. This will also remove some pressure.
Materials
There are a plethora of materials you can use to build a retaining wall. Concrete blocks are the best choice since they are inexpensive and easy to work with, but you can also use bricks, wood timbers, and smaller boulders. If you are new to DIY, we recommend you to use concrete blocks because they are really heavy (around 14 pounds each), meaning they will be able to hold a significant amount of soil and leave little or no room for errors in calculations.
A simple retaining wall made of 14-pound concrete blocks can weigh up to 500 pounds per 8 linear feet. If you are building it on a slope, you should use lips on the back to keep the blocks uniform because they tend to create a setback over time. The counterforce from the lips will force the blocks to lean into the slope. Beginners usually think that this is a bad thing, but, actually, the lips help improve the stability and holding power, even if they seem counterintuitive.
Construction
The process of building a retaining wall involves several important steps. Make sure you understand everything and take your time. In our example, we will explain how to build a retaining wall with blocks that flatten the slope and create usable land on the otherwise unworkable part of your backyard. Your wall might differ from the one we use as an example, but the basic steps are the same. You will only need to adjust the quantities of materials for size differences. You should ideally start the construction in a season with little or no rain. Dry dirt is much easier to shovel than wet dirt. Now, let’s take a look at how to build a retaining wall step by step.
1. Choose the Location
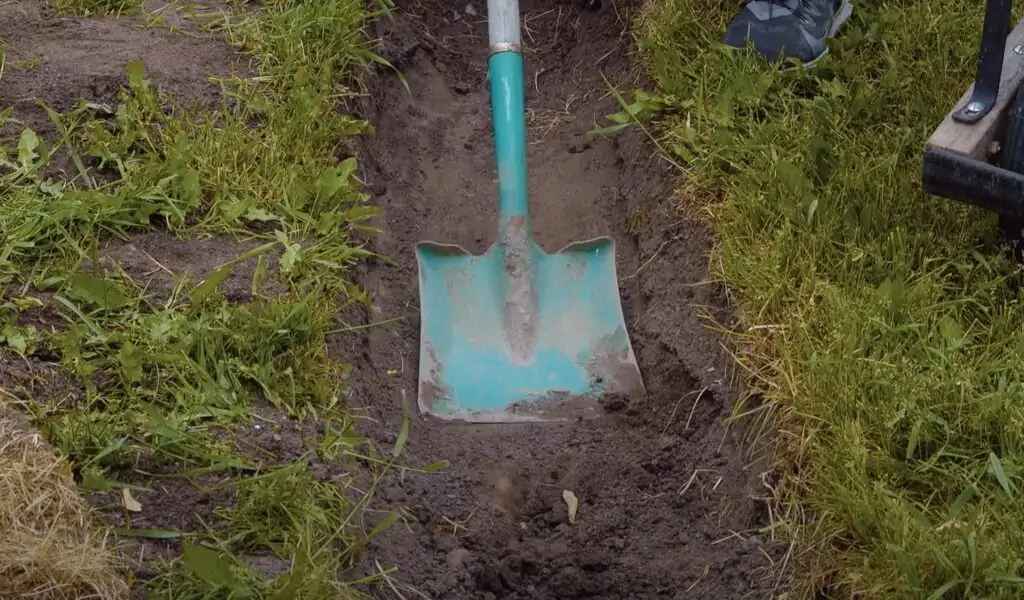
Choose the location and mark it with paint or strings and wooden stakes. Then measure the dimensions and calculate the amount of material you will need, and add 10% to that amount to account for errors. After that, start leveling the ground where you plan to build. Take a flat-bladed shovel and dig a trench for the foundation. In general, the depth of the trench should equal the wall’s height.
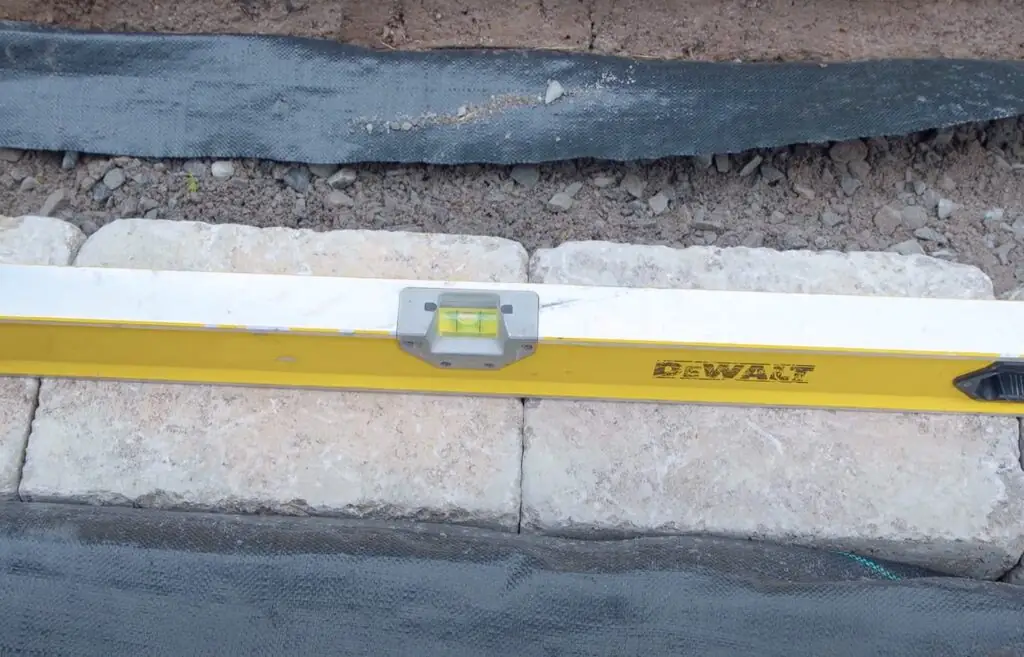
Then level the ground around the trench to create a flat surface on one side of the trench that is level with it. This will make a compact, stable surface for the blocks and provide you with plenty of space to work with. To have an easier time leveling the ground, take a 2×4 plank and use it as a screed. Make a sawing motion with the plank to scrape off any excess soil. Then use the same 2×4 and a level to check if the surface is truly level.
2. Lay Down the Foundation
To increase the stability of your wall, you will need to lay down a porous foundation. It will also help with drainage, and you will be able to lay the first layer of concrete block much easier. Pour about 2 inches of gravel or sand all across the trench or area where you plan to lay down the first row of blocks. Level the material using the same 2×4 you used before. If you plan to build a retaining wall higher than four of five blocks, you will need to compact the foundation. To do this you can use either a hand tamper or a small tampering machine.

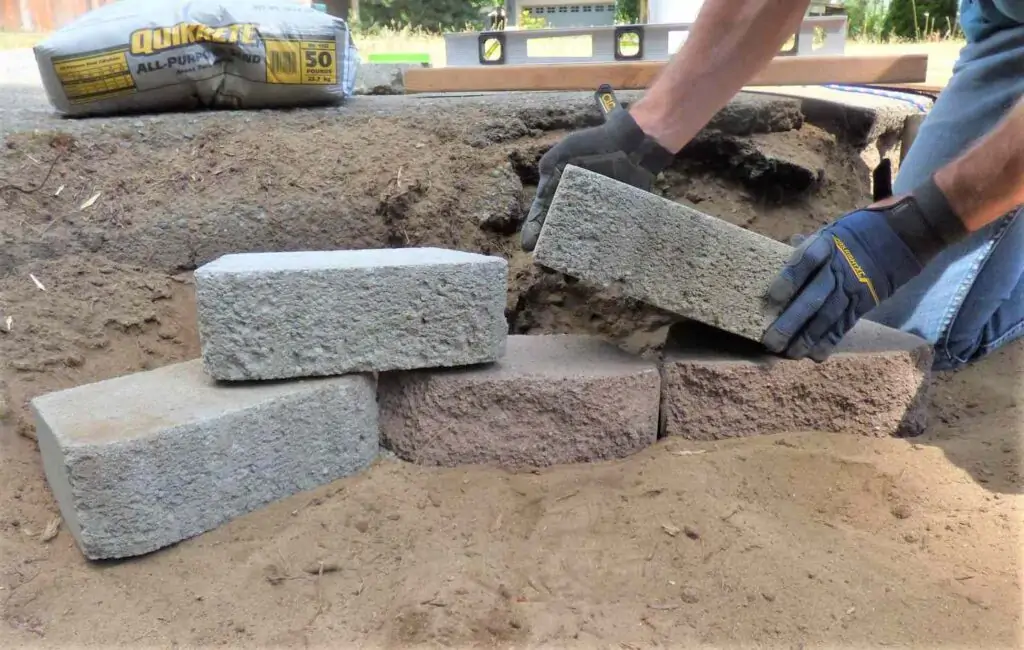
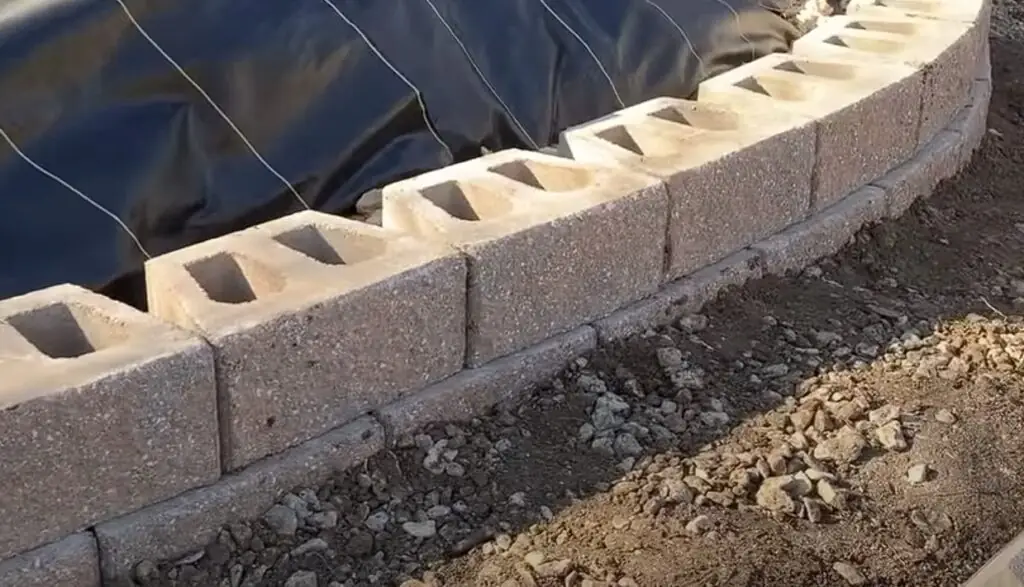
3. First Layer of Blocks
Start by placing a concrete block into the foundation on one end of the wall. Push it down with enough force to go into the base, but don’t push it too hard; otherwise, you will push away the base layer of gravel. As always, check if everything is level. Account for the natural slope of the hill.
Then lay the second block right next to the first one and use the same 2×4 and level to make sure that everything is perfectly aligned. Continue placing blocks of the first layer and check if they are still level and aligned after each one. First blocks are crucial for the integrity of the construction, and even the smallest mistake will damage the stability, so take your time aligning everything and check multiple times if everything is placed correctly.
4. Lay the Next Layer of Concrete Blocks
You will lay the remaining rows of concrete blocks using a running bond technique. It is a simple brickwork pattern in which subsequent layers are offset by one-half block. This pattern provides a lot of stability to walls, so it’s used in pretty much all kinds of walls. Use adhesive to make a bond between layers. Place down all full blocks for all layers and leave the half block spaces on the ends for later.
5. Make and Place Half Blocks
There will be empty spaces in every row that you will have to fill up with half blocks. You will make these using a masonry chisel and hammer. Most of the concrete blocks have a shallow groove in the middle, so you can cleave them in half with ease. Lay the block on its smaller side with the groove turner towards you. Place your masonry chisel into the groove and strike its end hard with the hammer to cut the concrete block in half. You might have to strike the chisel multiple times to split the block, but it may cause some damage to the block, so it is better to do it with one blow.
If you have sensitive hearing, it might be a good idea to wear noise-canceling headwear since the sound of hammering two pieces of metal can sometimes be thunderous. You can also use a saw to cut the blocks. When you have made enough half-sized pieces, it is time to set them in place. Lay them at the ends of the rows and face the rough chiseled face towards the other blocks.
6. Check If Everything is Aligned and Fill up the Gap
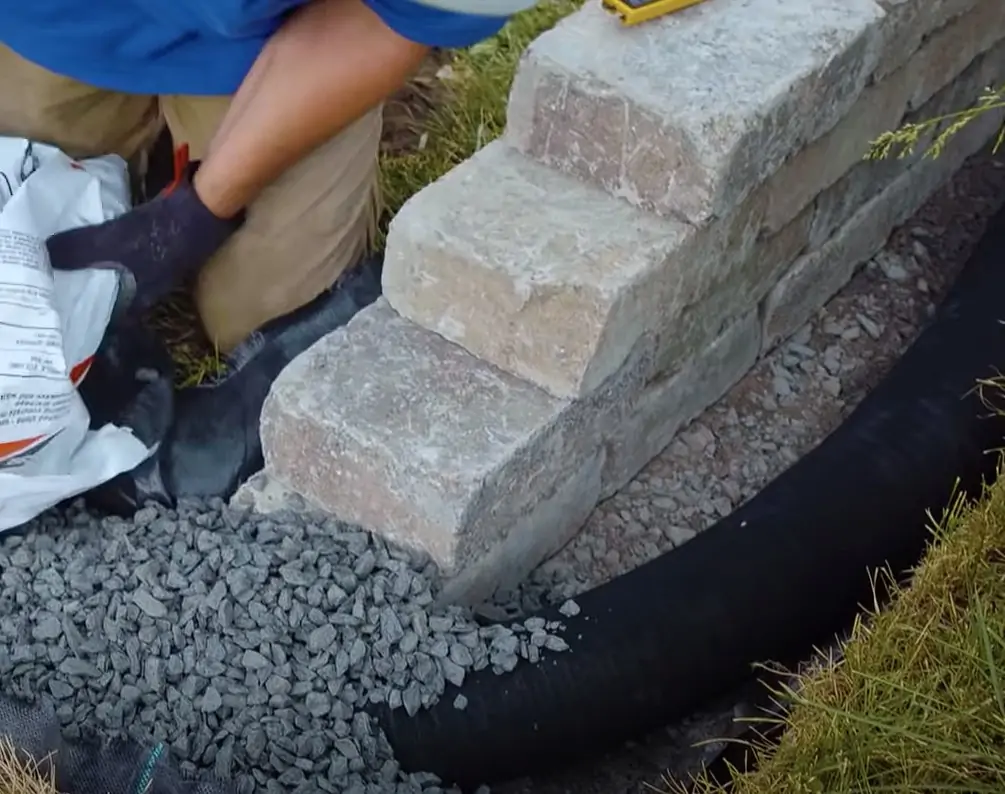
After you complete every row, check if everything is still level and aligned. If you are building a short retaining wall, a basic 4-foot level will do the job. However, if you plan to build a longer one on a slight slope, it’s better to use strings and stakes. This will save you a lot of time. You will also need to check the back side of the wall during the construction. It’s important to leave some space between the wall and the soil behind. As you go higher, you might take up that space due to the natural setback of the blocks. Just excavate additional soil from that side of the soil as you go higher.
After you are done with the construction, slowly fill up the hole between the back and the rest of the soil. Use the same porous material you used for the foundation. Compress the backfill because the gaps will affect the structural integrity of the whole structure.
If you aren’t sure that you understood everything and want to see a more detailed tutorial, check out the video below.
FAQ
It is generally better to build a retaining wall since it is cheaper than reducing the slope with dirt, and it looks much better than just plain dirt.
The slope should be at least 10 degrees for it to make sense.
Hopefully, now you know how to build a retaining wall on a slope. Make sure you have read everything carefully and understand every step of the process. Good luck with your DIY, and see you soon!