How to Paint Bathroom Cabinets: a Comprehensive Guide
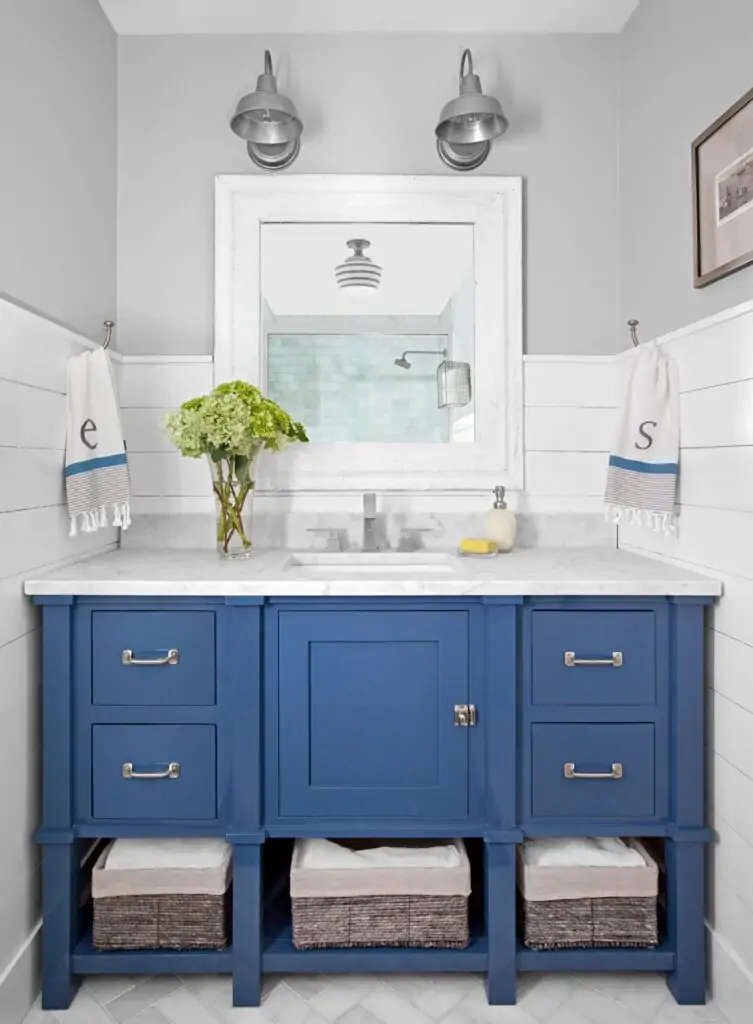
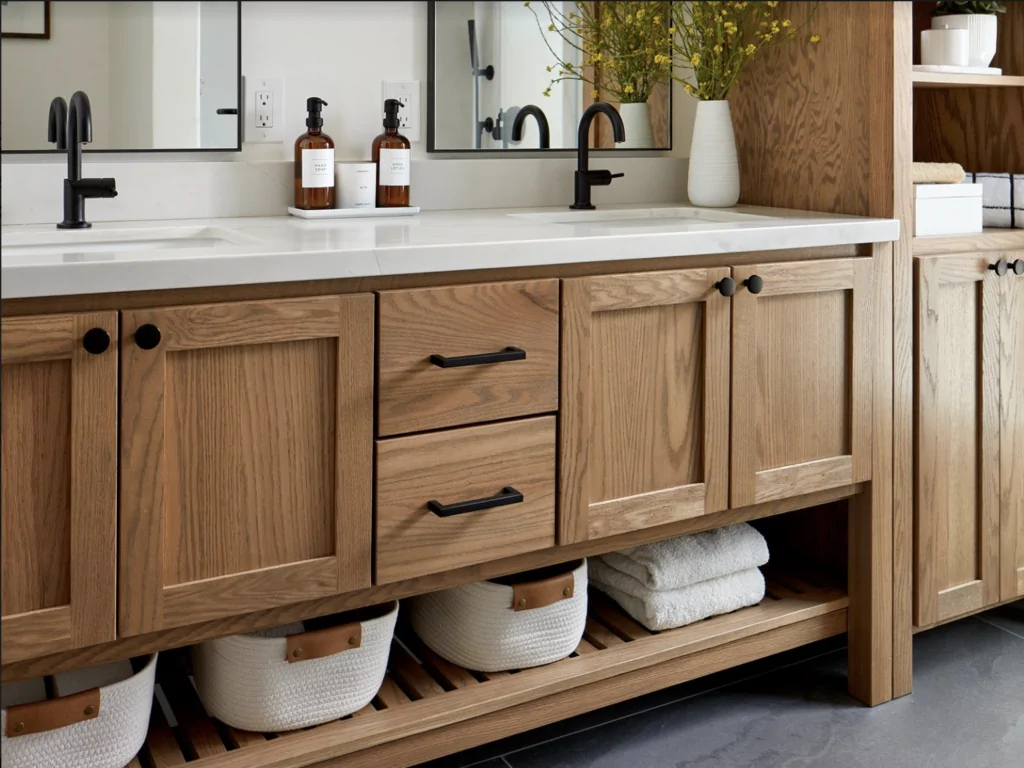
Aside from tiles and a bathtub, bathroom cabinets are the next most important thing people notice when they enter a bathroom. Unfortunately, as time goes by, their color starts to fade. If this sounds familiar, you really need to know how to paint bathroom cabinets, as well as how to prevent future discoloration. If they do not look attractive enough, they can be a true eyesore, especially if all the other features of your bathroom look great.
By painting them yourself, you will be able to make them look even better than before. What’s more, you can add small details that will make them one of a kind. It can also be quite expensive to buy new ones, so you will also save a decent amount of money.
Before you Start
There are a few details you should know before you start painting your bathroom cabinets, as well as a few suggestions worth keeping in mind.
What Type of Paint to Use
There are several good options when it comes to paints for bathroom cabinets, but two of them stand above the rest. Oil-based paints are more durable than all other ones, and you are much less likely to leave brushstrokes, even if your technique never goes above terrible. On the other hand, such paints have some major disadvantages as well. They take much longer to dry, are a bit more costly, and you will need to clean your tools with chemical solvents.
Water-based paints are very easy to work with; you will be able to clean your tools with mere water, and painted surfaces will dry significantly faster. Semi-gloss or satin paints are durable and take next to no time to apply. If you are willing to spend a bit more money on this project, 100 percent water-based enamel formula is by far the best choice of paint for this type of project.
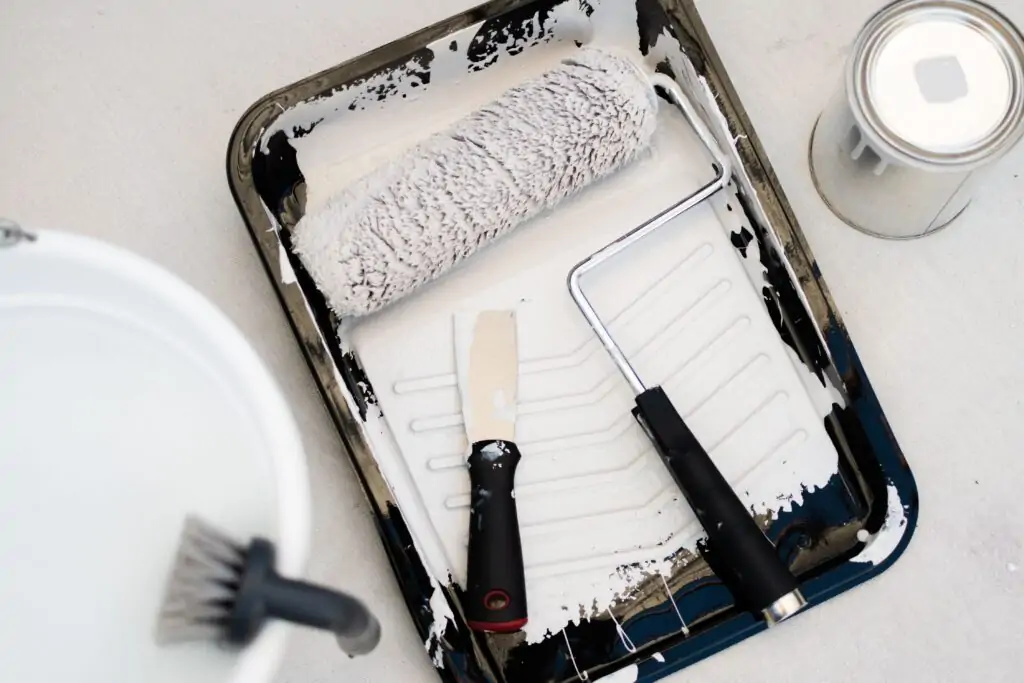
Required Tools and Materials
The tools for this project are the same as the ones you would use for any other painting activity. You will need a roller to cover large flat surfaces and a small paintbrush to fix the spots you didn’t cover with the roller. If you plan to use water-based paints, you need to get a synthetic-bristle brush. Alternatively, if you have chosen oil-based ones, you will need a natural-bristle brush. If you don’t have the patience to cover spots with a brush, you can buy (or rent) a sprayer.
You will also need a paint tray, sandpaper, marker, and an old sponge. You can also get painter’s tape and nylon sheets to protect the walls and the floor. Primer will also be really useful since it will increase the durability of the painted surface and delay discoloring.
If you want to be thorough, remove the old hinges and knobs using either a screwdriver or a cordless drill, and replace them with new ones.
General Hints and Tips
Wood is the easiest material and surface to paint, and even a complete beginner in DIY projects will be able to do a decent job. On the other hand, materials such as melamine or thermofoil can be a challenge, so if you don’t think you will be able to do a good job yourself, you should hire a professional.
To make your job easier, before you start painting, remove the cabinets from the wall. This will prevent you from accidentally painting the walls, and you won’t need to use a ladder to get to the cabinets. If, for some reason, you are not able to remove the cabinets from the wall, at least remove their doors.
How to Paint Wood Cabinets in a Bathroom
Before you start painting your bathroom cabinets, you will need to clean their surface to remove dust and other debris. Dust can soak in both the primer and paint, which, in its turn, will prevent the primer from sticking to the surface, so it is really important that you remove it before you start painting. What’s more, small pieces of debris will make bumps if you apply the primer over them, which is why they should be removed as well.
Fill a small bucket with water, pour in any degreasing agent, and stir the mixture for a minute. Dip a sponge into the liquid and clean both the interior and exterior of the cabinets. After that, wipe the whole surface with an old towel to remove the leftover water. After that, give your surfaces 10 to 15 minutes to dry.
You will also need to dilute the paint. Begin by pouring it into a 5-gallon bucket and slowly add in the paint thinner until the liquid is viscous enough for you to be able to apply it to the surface. On the other hand, make sure not to dilute it too much, otherwise, it will constantly drip from the roller, and you will make a big mess.
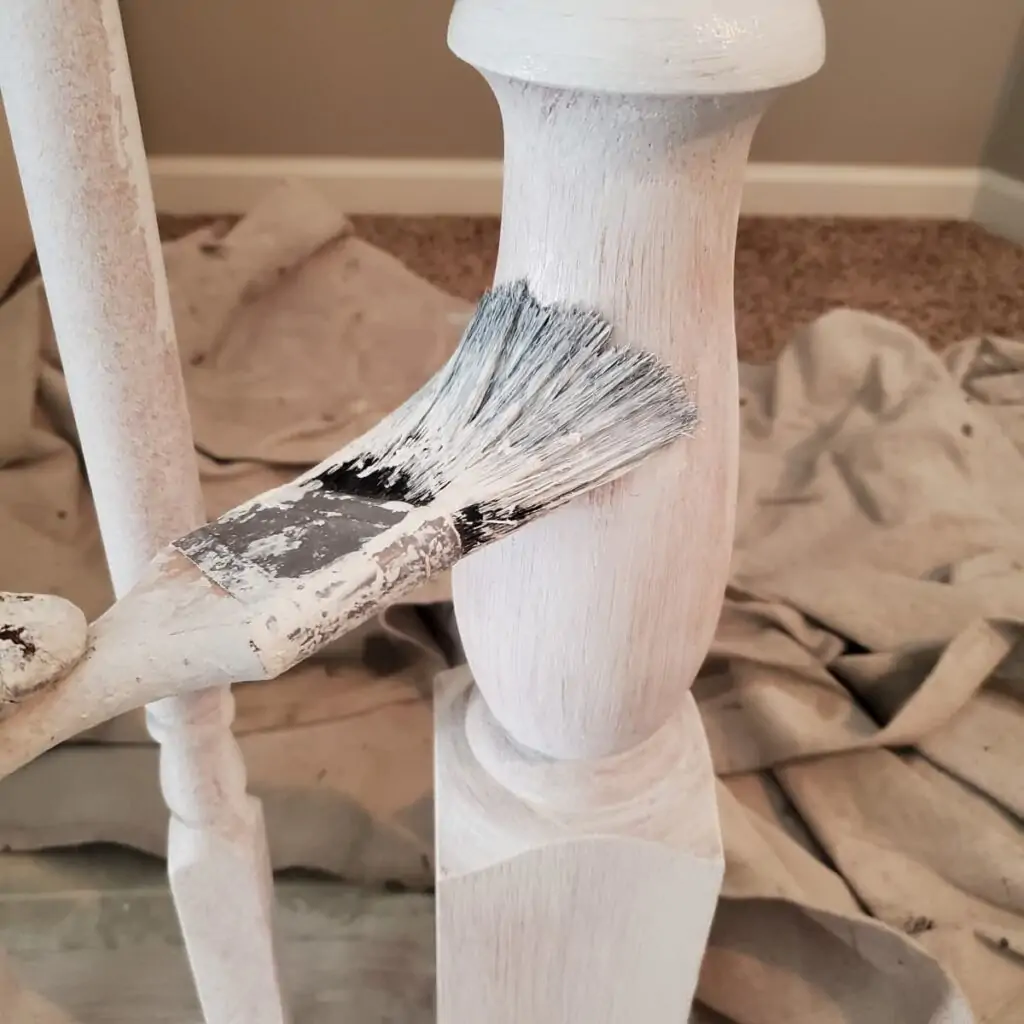
1. Prepare the Wooden Surface
First, check if there are any nicks or dings on the surface. If you happen to find any, remove them using a knife and wood putty. Apply the putty onto the damaged area and smooth it using a putty knife. Leave it to dry for a few minutes, after which you will need to sand the whole surface using 220 grit sandpaper. The primer won’t be able to stick to a surface that is already painted, so it is crucial that you sand the surface properly.
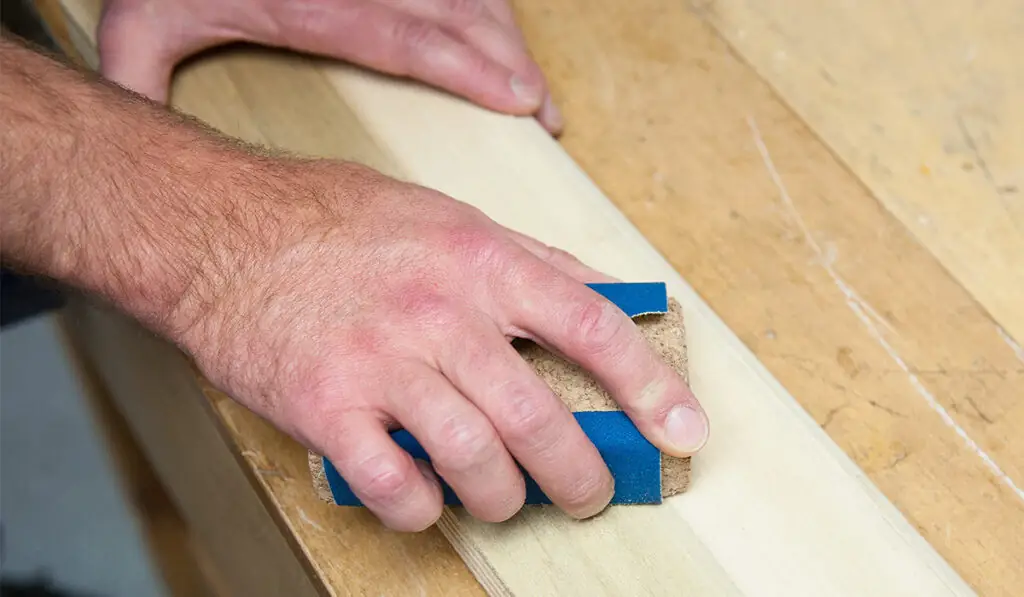
Remove the newly formed dust with a damp towel and allow the surface to dry. If you want to be 100 percent sure you removed all dust, wipe down the whole surface again, this time using a tack cloth.
2. Apply the Primer
Start by applying an even layer of primer to all surfaces of cabinet boxes and doors. First, cover the majority of the surface with a roller with long continuous strokes, then cover any spots you might have missed. If you have some leftover money in your budget or want to save time, you can rent a sprayer at a local hardware shop to speed the process up. Leave the primer to dry for the duration recommended by the manufacturer.
3. Sand the Primer

Gently sand the coat of primer using 230 grit or finer sandpaper. Remove the newly formed dust using a damp towel.
4. Apply the Paint
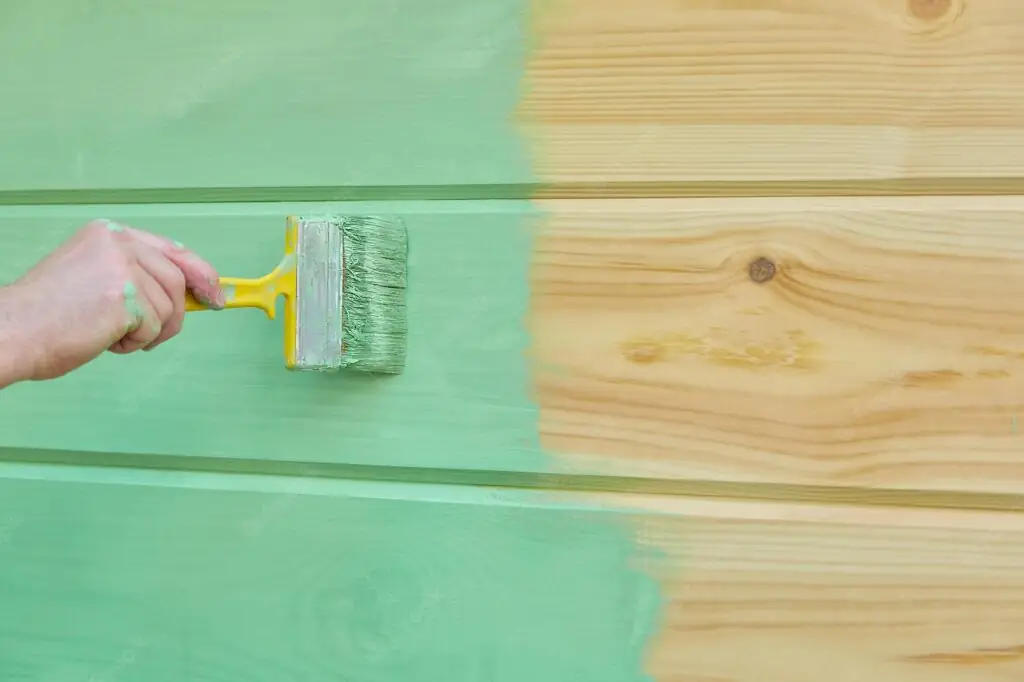
Start by applying a thin coat of paint to cabinet boxes, drawers, and doors. If you have already bought or rented a sprayer to apply the primer, use it for this step of the process as well. One thing to keep in mind if you are using a sprayer is that you should always have something behind the thing you are painting, so you don’t color something you are not supposed to. You can hang a large nylon sheet from the wall or lay it on the floor.
If you have chosen to use a roller and brush instead, apply the paint with long horizontal strokes with a roller and cover the unpainted spots with the brush. Make sure you have covered all the sides of the doors and drawers. You will have an easier time if you do the front sides first and let them dry before you start painting the back side.
After the first coat has dried on all sides, you can start applying the second one. This one should be a little bit thicker than the first one, and you will be able to finish it much faster since you will have fewer uncolored spots to fix. Leave the cabinets to dry for the duration indicated on the label. Usually, it is around 24 hours, but sometimes it can go up to a whole week.
5. Reassemble the Cabinets
Attach new handles and hinges you’ve bought, or reattach the old ones. Attach the doors to the hinges, then return the drawers to the drawer boxes and slide them back in.
If you still have some unanswered questions and think you need an even more detailed step-by-step guide, you can watch this amazing YouTube video:
FAQ
You can use any color as long as it matches the rest of the bathroom. There is really no need to limit your imagination.
You should never paint wood without sanding the surface first because the primer won’t stick to the surface properly.
Hopefully, now you know how to paint your bathroom cabinets. Take your time and make sure you follow every step carefully. Good luck with your future DIY projects, and see you soon!