A Guide On How To Paint The Exterior Of Your House
When it comes to home improvements, knowing how to paint the exterior of your house is one of the most important skills you may have. Painting is a cost-effective investment that can significantly improve the look and value of your home, and it can also help you sell your house faster if you plan on putting it on the market soon.
That being said, it isn’t as simple as just climbing up a ladder with a roller in hand. There are many factors to consider, especially if you are painting exterior walls for the first time all by yourself and you want to get the job done well and avoid making costly mistakes.
This step-by-step guide will provide you with everything you need to know — from materials and tools to preparation, prep work, and clean up afterward.
Why Is It Important
If you want to increase the curb appeal of your house, improve its energy efficiency, and reduce your overall maintenance costs, painting its exterior is probably the best investment you can make.
Changing or maintaining the color of your home’s exterior annually is the most cost-effective and simplest way to keep it in good condition and extend its lifespan. It also doesn’t require extensive renovations or expensive repairs like some other projects do.
Apart from that, regularly painting your home is also a great way to increase its curb appeal and make it look brand new again.
It’s also a great way to increase the value of your home and make it look more attractive to potential buyers if you plan on putting it on the market.
How Do You Prepare the Exterior for Painting?
There is a rule every DIY enthusiast knows, and that can certainly be applied to painting your house exterior. Cost of the job will be way lower if you do it yourself. Before you begin to work, there are a few things you need to do first to prepare the surface.
The surface must be clean and free of dirt, grease, and contaminants that can affect the adhesion of the coating. If you have rough, dirty, or cracked walls, you can power wash them. You can also sand them lightly if they are smooth enough.
If you have peeling flakes on your walls, you need to scrape them off before you start working. To do this, use a cordless drill with a scraper attachment or a putty knife. If there are spots where the siding has rotted away, you should replace them before coating.
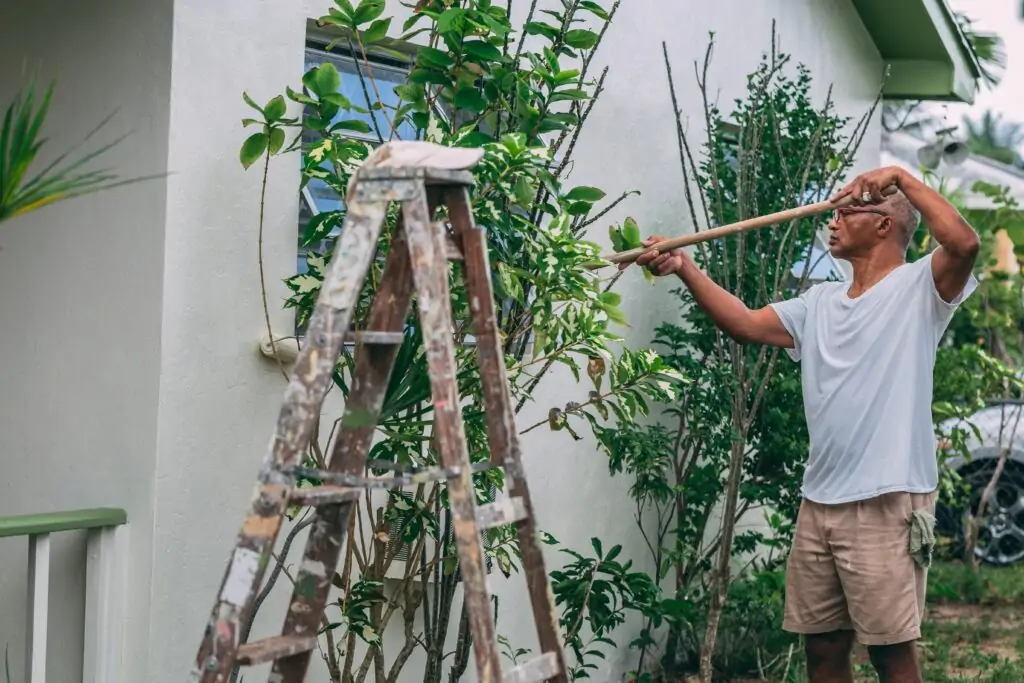
This also means getting rid of anything that would stop you from doing your job thoroughly. This includes removing things like window blinds, shutters, outdoor furniture, tools, plants, and other items or decorations that are hanging off your walls.
Before you get started, make a note of items that need to stay on the wall (i.e., electrical wiring and plumbing), so you know how to handle those areas.
You should also keep in mind that there are certain plants that are sensitive to chemicals. Thus, if you have any plants hanging off your walls, it’s best to remove them.
What Are the Steps to Follow When Painting the Exterior of a House?
The whole process can be broken down into 6 simple steps that will get you from start to finish with ease and efficiency.
Before you start working, make sure you’ve done all the necessary prep work to ensure a quality result. This includes power washing the walls, sanding or scraping off peeling paint as necessary, and repairing any rotted areas.
Step 1: Choose The Best Exterior House Paint For Your Walls
First things first, you need to choose the right type of paint for your walls. There are plenty of selections available at your local hardware store, but you must choose wisely.
Your choice can make or break your DIY project. So, keep these things in mind at all times: coverage, durability, adhesion, finish, color, price, and type of paint.
Coverage
Coverage refers to how much paint is needed to cover a particular surface area. The higher the coverage, the less paint you’ll need for the same surface area. You can usually find coverage information on the back of the can label.
Durability
Durability refers to how long the paint will last. The usual term is between five and ten years before there is a need for repainting.
Longer-lasting paint is more expensive and is the best option, so do not let its price stop you. Such a choice is really worth the investment, especially if you plan on living in your house for many years to come.
Adhesion
Adhesion refers to how well the paint binds to the surface to it is being applied to. If the paint does not stick well, it will chip off, and you will have to repaint your house sooner than desired.
Finish
The finish you choose will affect the look of your home’s exterior. A high-gloss finish will make any imperfections in the surface more apparent, while a low-gloss finish will conceal them.
Color
There are various colors available, and choosing the right shade can dramatically affect the look and feel of your home.
You can choose a color to match your existing color scheme, or you can completely change the look of your house by choosing a different color altogether.
Price
The cost of paint can vary wildly, depending on the brand, coverage, and finish. Shop around and compare prices to find the best deal for your budget.
Type
There are five most common types of paint: oil-based, alkyd, acrylic, water-based, and latex. Oil-based and alkyd paints are more durable and suitable for exterior painting, while latex one is more commonly used indoors.
When you know what to look for when making your choice, it’ll be much easier to find the right one for you.
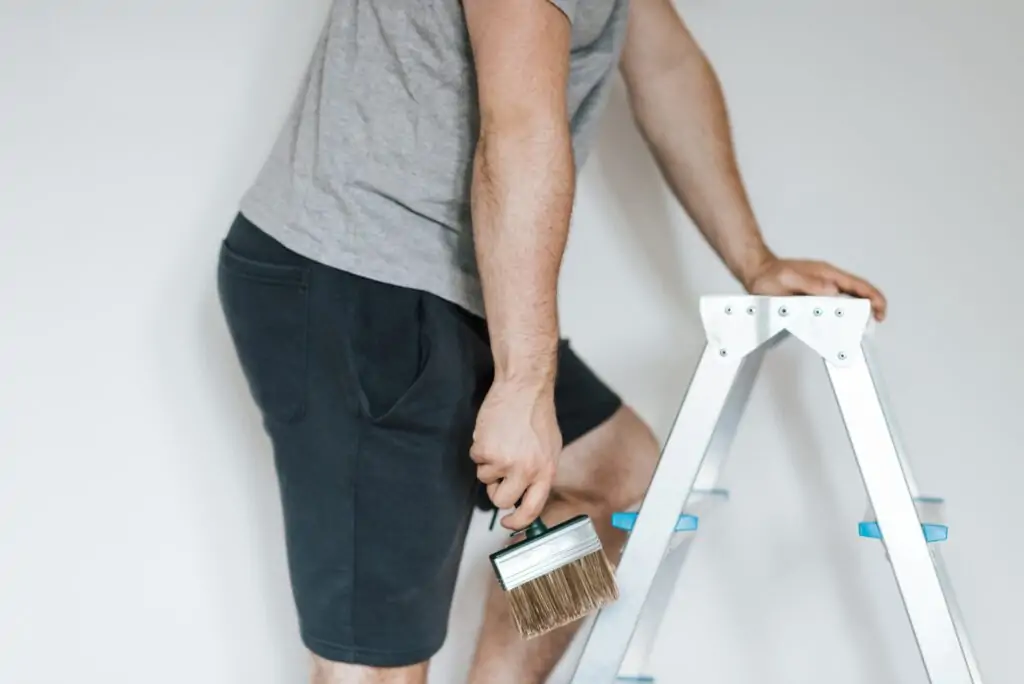
Step 2: Equip Yourself With The Right Tools
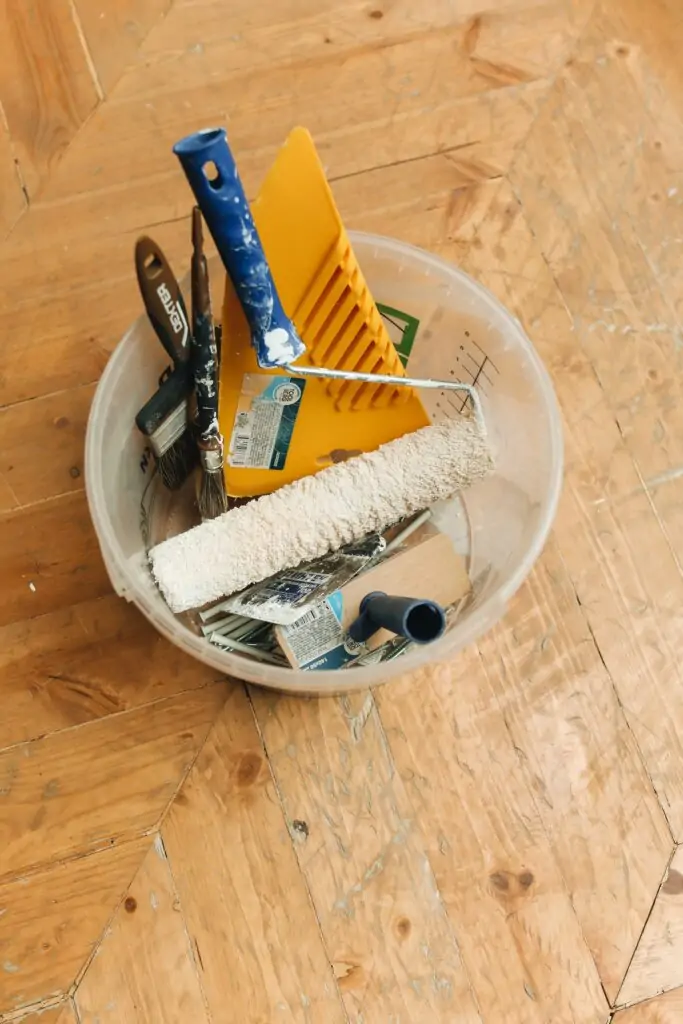
Before you even think about getting started with your project, you need to equip yourself with all the right tools and supplies.
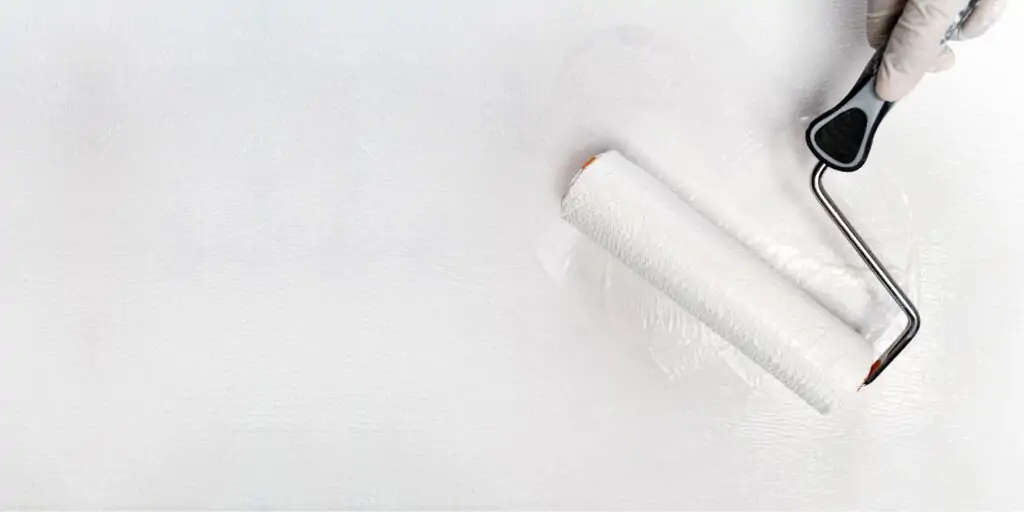
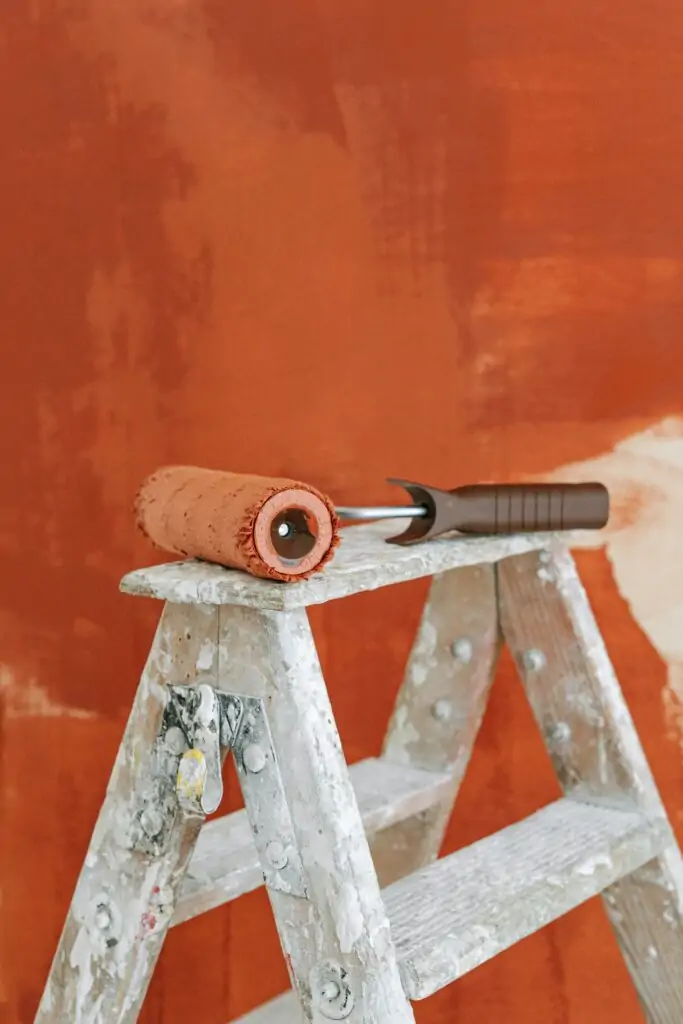
This includes the right paint, brushes, rollers, trays, extension cords, ladders, drop cloths, and more. For the exterior wall painting, the most important tools and supplies you’ll need are rollers and brushes, a painting tray, and a ladder.
You can also use a drop cloth to protect the ground from splatter and drips. When choosing a roller, it’s important you select one that is suitable for the type of paint you’ll be using.
Step 3: Prepare Your House Exterior
This step is truly crucial — if you skip it, you could end up with an uneven finish or unsightly drip marks.
You can prep your house exterior in two ways: cleaning the walls and removing loose flakes.
Cleaning the Walls – You can clean your walls with a garden hose or a pressure washer. If you decide to use a pressure washer, make sure you use a soft setting and wear protective gear, including eye protection and gloves.
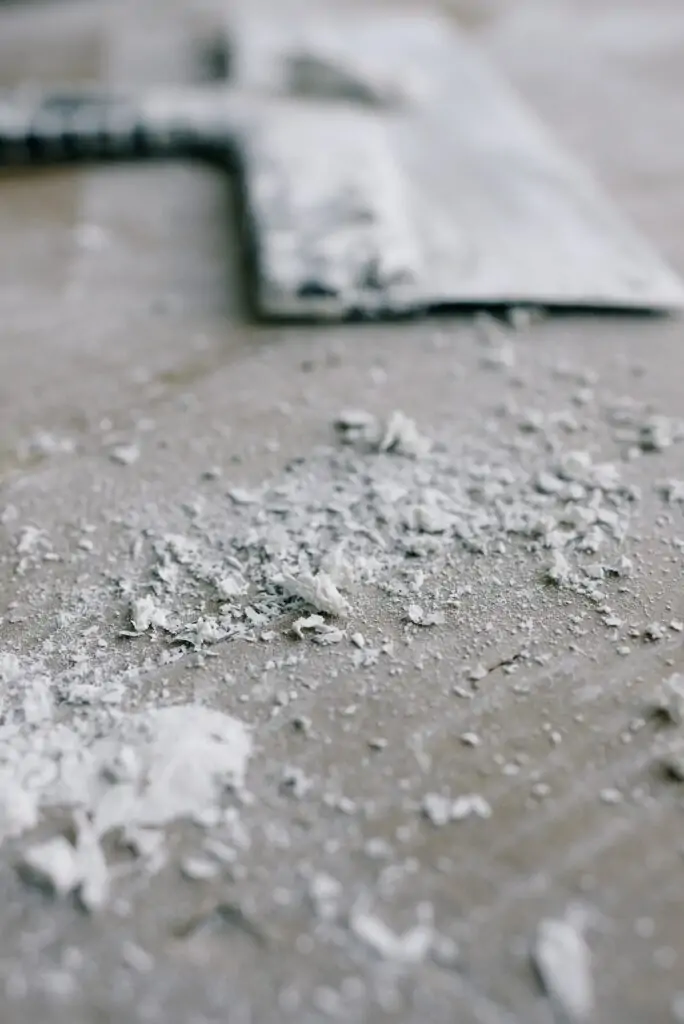
Removing Loose Paint – If there are loose flakes on your walls, scrape or sand them off before painting. You don’t want to end up with horrible splotches all over your walls.
Step 4: Use Masking Tape to Cover Windows and Door Frames
Before you get started, you want to make sure you’re protecting your windows and door frames from splatters.
You can do this by wrapping them in masking tape. Using masking tape on windows and doors is an easy and time-tested way to protect them from splatter and drips.
You can also use cardboard to cover the parts of your windows that you don’t want to be painted.
Step 5: Decide On Your Strategy

One of the most important steps to painting your exterior is perhaps deciding on the right exterior house paint colors as well as the proper strategy. When it comes to your painting strategy, you’ll want to consider the weather, particular exterior house paint ideas you may have, as well as the condition and type of your paint.
If your climate is particularly cold, you’ll want to delay your DIY exterior project as long as possible until spring arrives.
Step 6: Paint the Roof, Walls, and Trim
Once you’ve gathered your tools and prepped your walls, you can start working on the roof.
Once you’ve painted the roof and any other high-up areas, you can begin working on the walls. After you’ve finished painting the walls, you can move on to the trim and any other exterior features.
This step of your painting project will require two or more coats of paint, so make sure you factor this into your timeline. You’ll want to allow each coat to dry completely before applying another coat, so you’ll want to plan your DIY project accordingly.
Wrapping Up
Knowing how to paint the exterior of your house is a cost-effective way to improve the look and value of your home while reducing the cost of doing so and protecting your home from the elements.
If you want to get the job done well and avoid making costly mistakes, you’ll need to follow the steps we outlined really carefully. Never be in a hurry and, above all, enjoy yourself.