How to Repot a Monstera in 6 Easy Steps: A Step-by-Step Guide
How to repot your monstera is an important question to have an answer to if you want to ensure that your monstera grows bigger and stronger. Repotting provides fresh soil with nutrients that have been depleted over time. It also gives you an opportunity to inspect the roots for signs of damage or disease. So, let’s get started.
Importance of Repotting Monsteras
Monstera deliciosa, monstera adansonii, and other monstera plants are all the rage these days, and for good reason! These houseplants are easy to grow and care for, and they add a tropical touch to any home. But like any living thing, they require proper maintenance to thrive. One essential aspect of monstera plant care is repotting.
Monstera plants are hardy and well-known for their rapid growth rate – under optimal conditions, they can shoot up several inches per week! This means that eventually, even the biggest pot won’t be able to provide enough space or nutrients for monsteras and they will need repotting.
When left in its original pot for too long, a root-bound condition may happen, which could lead to stunted growth, sparse foliage, and suffocation due to the inability to absorb water in proper quantities. That’s why it’s important to not only monitor but also repot them when necessary to keep your plant healthy.
Aside from giving more room for the root system, repotted monsteras gain access to nutrient-rich soil and get more from the fertilizers you use, which will allow them to continue thriving on a healthy growth track.
Signs It’s Time To Repot Your Monstera
Knowing exactly when your monstera needs to be repotted depends on certain signs. You should keep an eye out if:
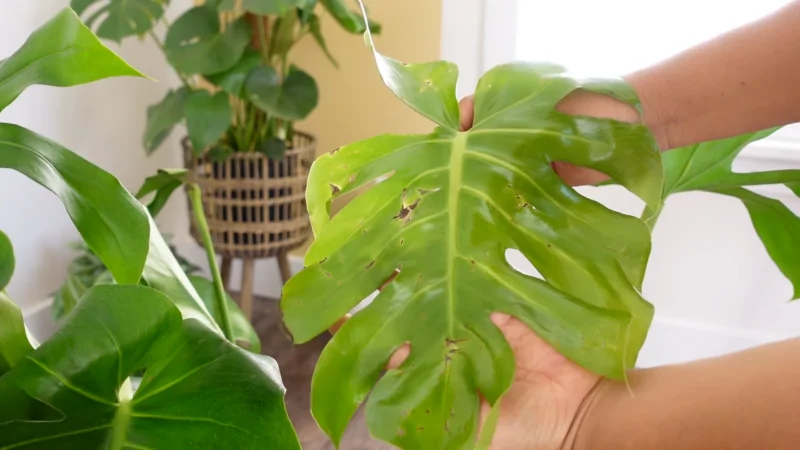
- The leaves seem smaller than usual
- The water drains too quickly out of the soil mix through the bottom holes: your soil is dry even though you are watering the plant regularly.
- Roots growing long enough to protrude from drainage holes. (In general, it is not a good idea to delay placing your plant into a new pot until you can see protruding roots from the container. This might result in stiff roots and inhibit the development of the plant).
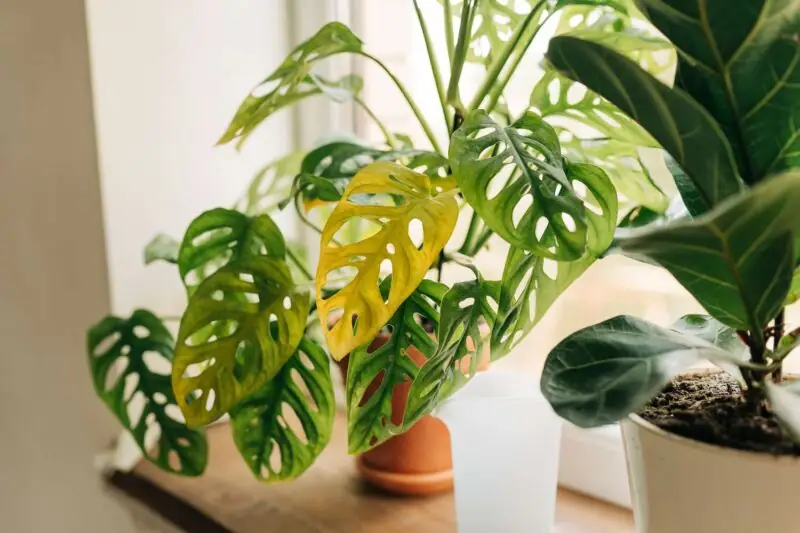
- The leaves turn yellow or brown
- The plant seems unstable despite being properly supported
- The current container cracks or is easily damaged
If you notice any of these signs, it’s time to consider repotting your mature plants.
Materials Needed for Repotting Monstera
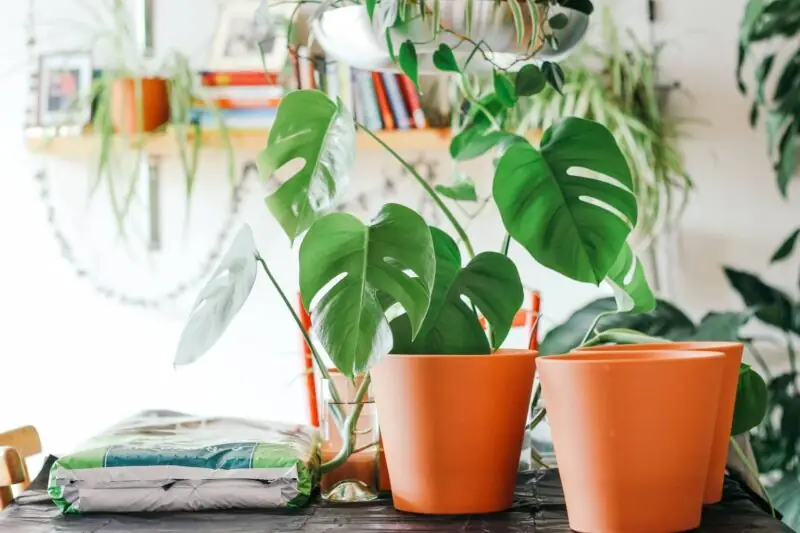
Before we get into the steps on how to repot a monstera plant, let’s first gather all the materials you’ll need.
Choosing The Right Potting Soil
First and foremost pick the right potting soil – a mix that will make sure your monstera is getting enough drainage capacity as well as nutrients necessary for healthy growth. Look for houseplant mixes with both perlite or sand and peat moss.
Selecting The Best Pot
Picking the proper pot also plays an essential role in successful monstera gardening. Plastic pots are great options for keeping your monstera in due to their lightweight nature and ease of moving around when needed. However, terra cotta pots may be a better choice than a plastic nursery if you have problems with over-watering your plants since they allow excess moisture to evaporate faster through porous walls.
When selecting a new container, make sure its diameter is slightly larger than the current one – about two inches should suffice. This allows ample space for the roots of the growing plant to spread freely without compromising stability and support.
Planters With Built-In Drainage Holes
It’s important to select a planter with built-in drainage holes at the bottom so excess water doesn’t stagnate, leading to root rot issues. This can happen very quickly, and you might need to cut the affected areas of the root off.
Decorative Planters Without Drainage Holes
If you have fallen in love with a decorative planter that does not come equipped with drainage mechanisms, there is a simple solution. Add another smaller container inside the main one, with a few small holes drilled at the bottom. That way, water can still seep through while maintaining the desired aesthetics.
How To Repot A Monstera Plant
Now that we’ve gathered all our materials, it’s time to start repotting your plant into new soil! Here are step-by-step instructions on how to properly replant your monstera:
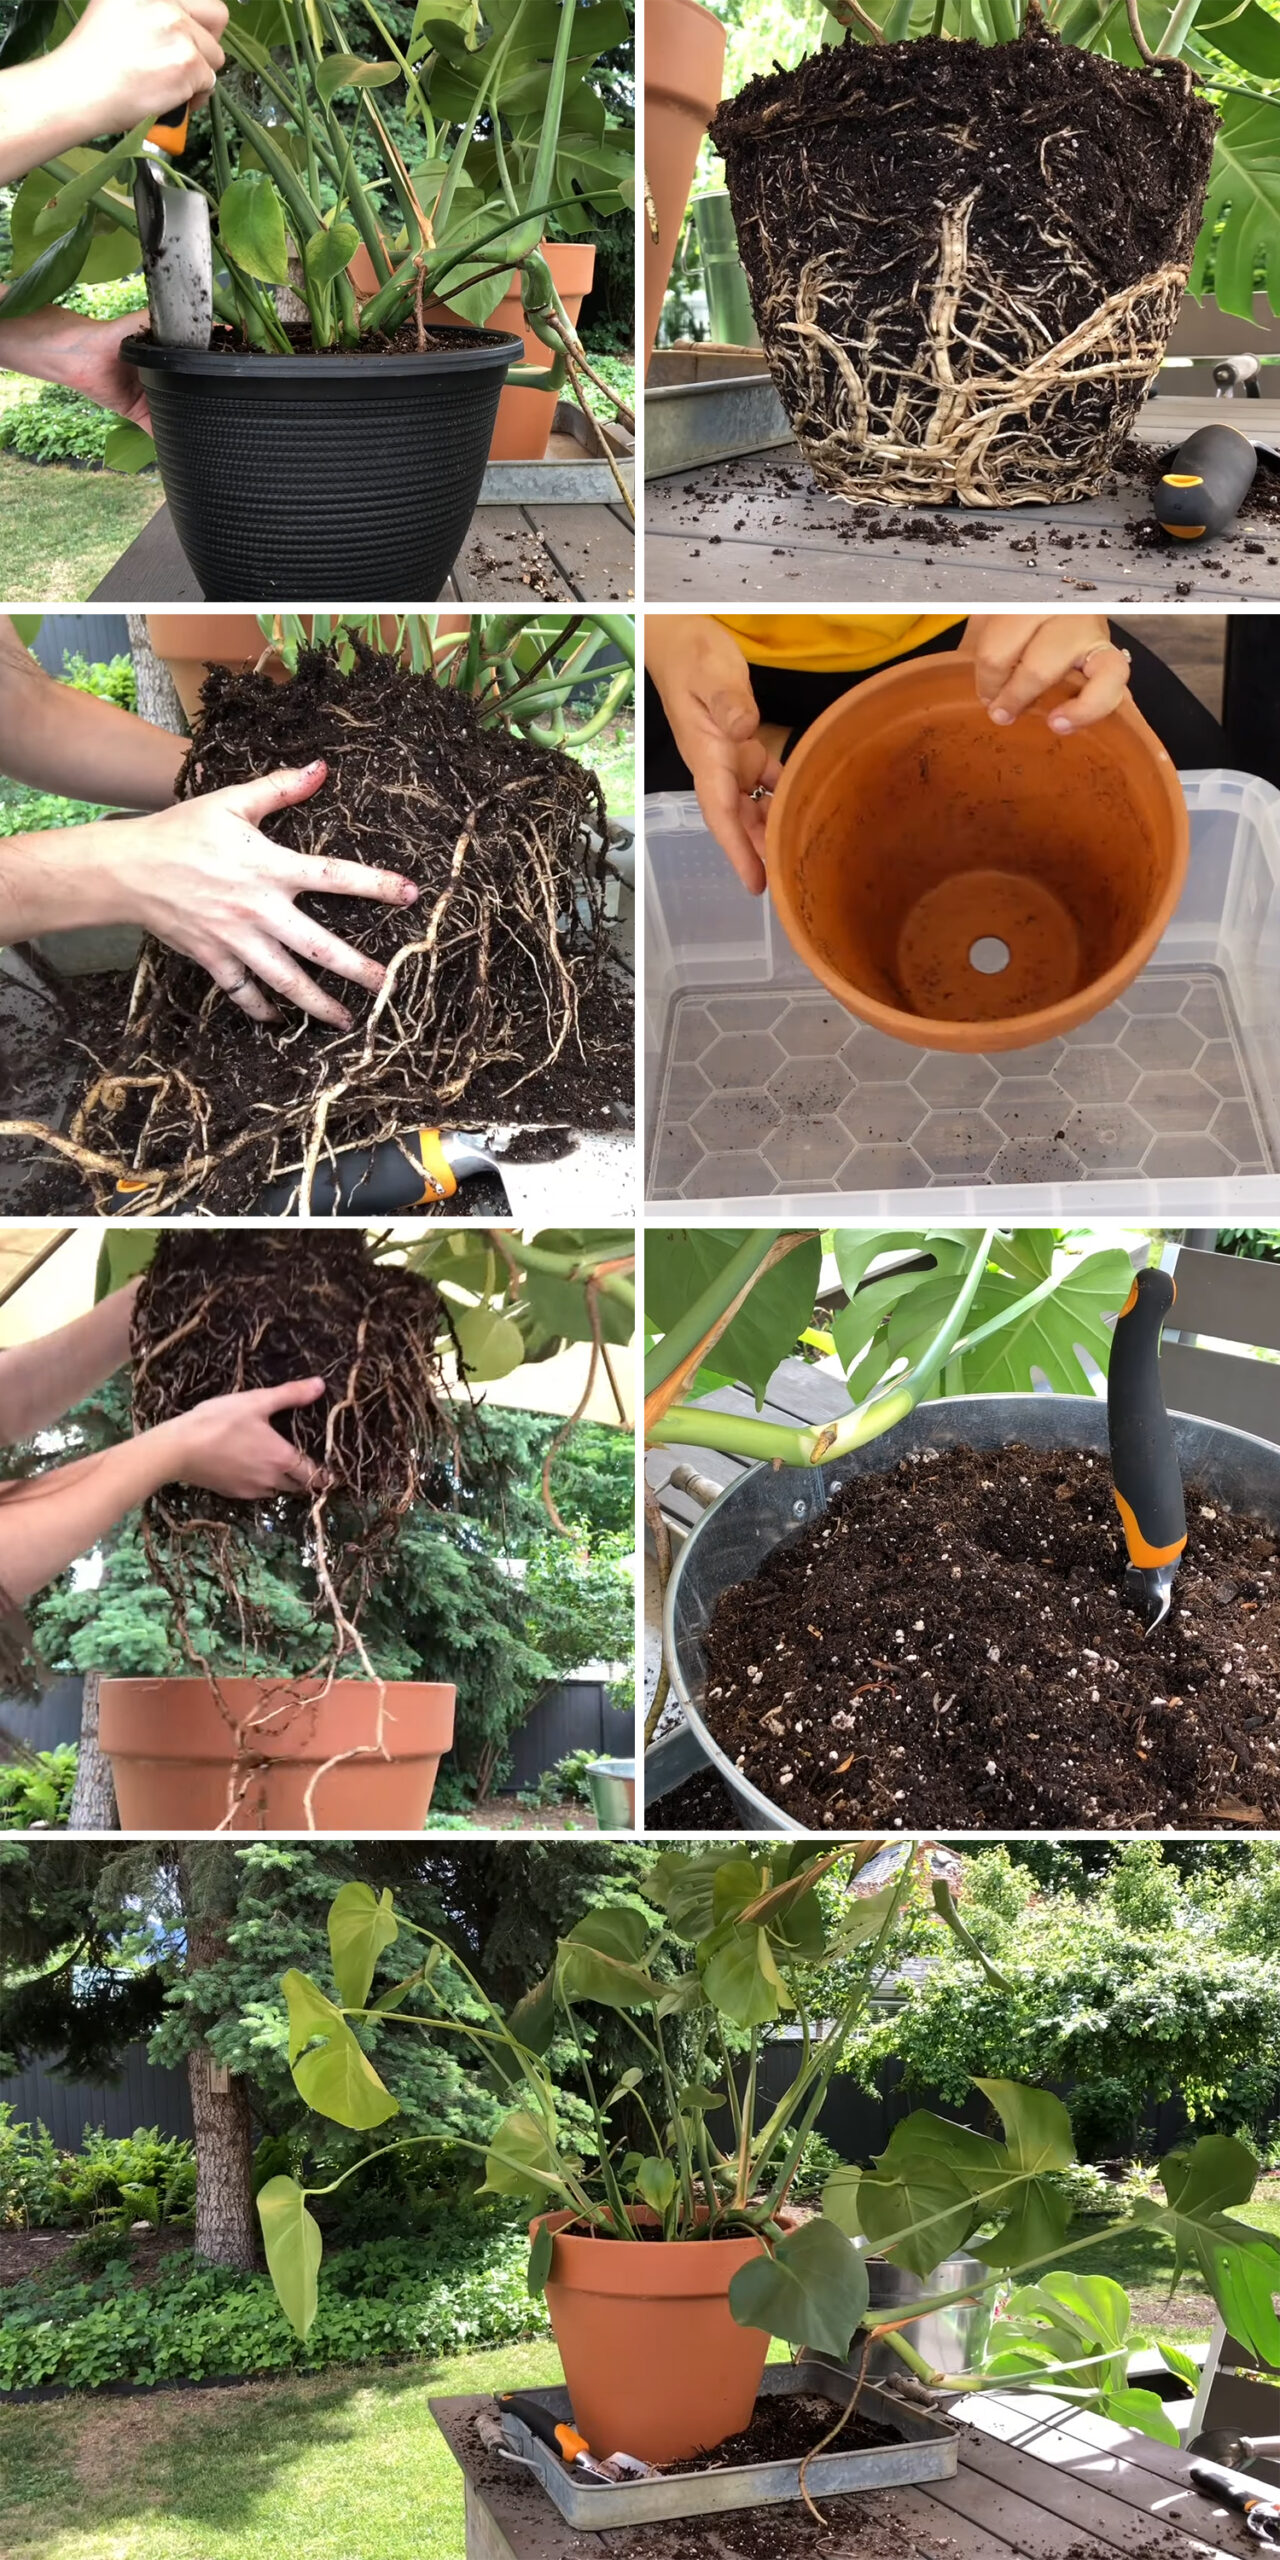
- Preparing The Container: Begin by filling the bottom of the pot approximately halfway full with potting soil.
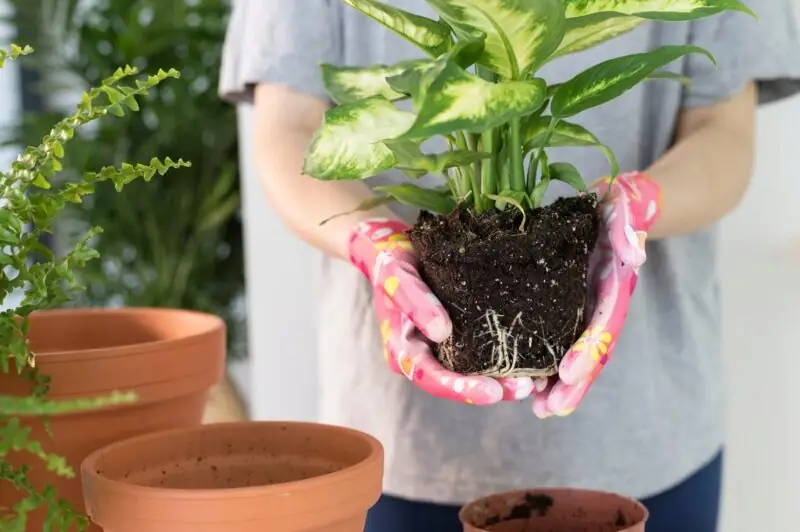
- Removing the plant from its current pot: Gently turn your monstera upside down while supporting the stem between your fingers.
- Root Pruning and teasing: Inspect roots for any signs of rot or damage, and gently tease apart and loosen those that are tightly wound together using your fingers: this will help normal root growth. If you find mushy brown roots, remove them with sterilized scissors before planting to avoid potential infection.
- Tidying Up And Supporting Plant (Optional): To prevent the root ball from falling apart during the replanting process.
- Replanting The Monstera: Once all preparations have been made, it’s time to place the monstera carefully in the center of the new container. Slowly add potting mix around the sides until it is completely buried and firmly packed.
- Watering Repotted Plants: Once planted, give freshly potted monsteras a good drink of water – about half the amount recommended for regularly watering plants – allowing it to soak through the bottom holes properly. This will help settle the soil evenly.
Staking Monstera Houseplants
While staking isn’t necessary for every monstera plant, it can help promote healthy growth by providing support as they climb up moss poles, creating more exposed leaf surface area. This allows for better light absorption than when bunched together in one space, restricting airflow and causing fungal issues such as powdery mildew.
Best Time To Repot A Monstera
The best time to repot a monstera is during its active growing season (early spring through summer). This way, they’ll have plenty of energy and moisture reserves available to smoothly transition into a fresh environment without too much stress on their system.
Caring For Monsteras After Repotting
After completing a successful transplant, continue monitoring progress over the next few days to ensure a safe settling-in period. Make sure not to expose newly transplanted monsteras to strong direct sunlight for at least a week, allowing a recovery period for them to become accustomed to their new rooting environment and to replenish any damaged roots.
If your plant sports aerial roots, you might want to place the pot to where your monstera can use them.
When it comes to watering, make sure the new potting mix is kept moist but not soggy. Water only when the soil feels dry about an inch deep. Fertilization should be done after two months of replanting, giving ample time for roots to establish themselves.
Conclusion
Whether you’re a seasoned plant enthusiast or just starting your indoor gardening journey, knowing how and when to repot your monstera can help ensure long-term success in growing these stunning tropical plants. Keep our tips and tricks in mind next time you see signs that it’s time for your monstera plant care routine!